Electric Smokers 101: The Easy Way to Use your New Smoker
Disclosure: This post may contain affiliate links. If you use these links to buy something we may earn a commission at not additional cost to you. Learn more.
Using a smoker can be taxing, messy, and somewhat laborious, so it’s no surprise that we have advanced towards electric smokers. If you love smoked foods but are not experienced in how to smoke meats and other foods, then electric smokers are the way to go! Here’s everything you’re going to need to know about using an electric smoker, and how to be successful in it.
The best way to use your new smoker has a lot to do with how you handle your meat. By taking extra measures to ensure maximum flavor, moisture, and tenderness, you can get the best results. Doing things like brining, and learning what the best temperatures are for different meats are some of the most useful things to know.
Brining and mastering temperatures are the basics. Here are some extra tips to help you along the way!
Preseason Your Electric Smoker Before First Use
The same way you’d want to pre-season a regular smoker before smoking meat, you’re going to want to do the same for your electric smoker.
An electric smoker is like any other electrical cooking appliance. It must first be “cured” or “seasoned” for the best performance and to yield maximum flavor from food. This process removes odors, residues, and dust accumulated during the manufacturing process. It also gives your appliance an oil layer that will later protect your food in subsequent smokes.
Rub all the interior surfaces of your electric smoker, including the cooking racks, with cooking oil or non-stick spray. As much as possible, use a “neutral oil” like canola or peanut oil as opposed to the more expensive olive oil. Turn your smoker on and run it at 270-275 Fahrenheit for 2-3 hours. 45 minutes before the curing process ends, add your wood chips.
Once this time is up, turn off your unit, and open the door, and then allow your unit to cool before using it. It’s always important to follow manufacturer instructions during the seasoning process, and you should only have to season your appliance once.
Learn To Control Temperatures and Vents
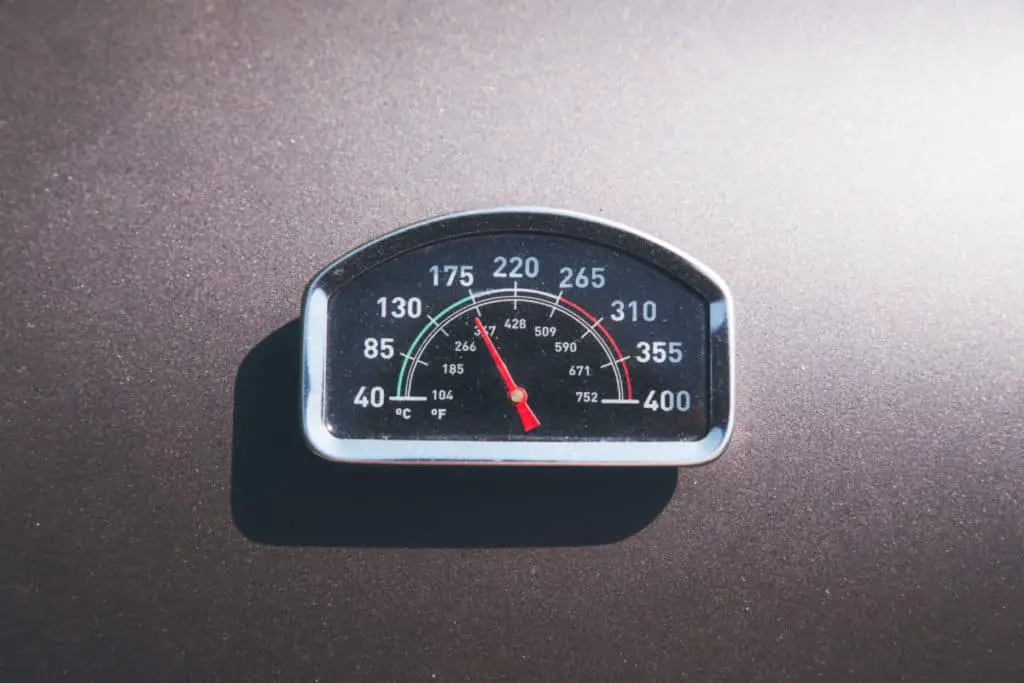
Temperature controllers, probes, and monitors also aid in the process. These devices come either in-built into your electric smoker or separately. Probes help you to measure internal meat temperature. This is especially important to gauge whether or not your meat is completely cooked, and avoid incidences of food poisoning.
Monitors and controllers keep track of internal smoker temperature, gauge temperature accuracy, and have the ability to measure two temperatures at once. Both have wireless access for the ultimate convenience (cooking from your couch), but controllers – found in many electric smokers – go one step further by being able to control smoker temperature.
However, you should note that electric smokers are renowned for “swing”, especially at the beginning of smoke, and this can register up to 20°F above or below the set temperature. Therefore, if you are aiming for an internal temperature of 220°F, try setting your electric smoker to between 205-210°F.
Observe as the temperature rises. Once the internal temperature hits the desired 220°F, above the temperature, you set of 210°F, quickly reset the temperature to 220°F on the temperature controller. Always aim for electric smokers that are well insulated to reduce swing.
One of the best electric smoker tips to apply is to leave vents fully open as you smoke meats to avoid the risk of build-up on our meat. Creosote is a compound found in smoke that gives smoked foods that desirable BBQ flavor, but in large amounts can make the food taste bitter. The only time you should close your vents is when you have finished smoking your meat.
Use the Right Wood Chips
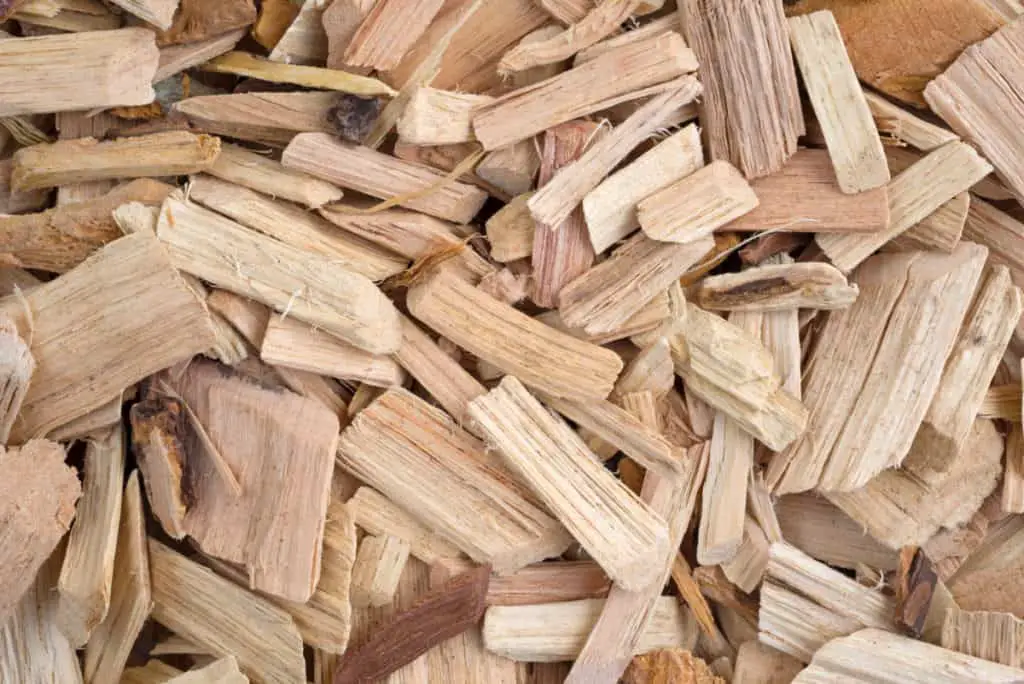
Most electric smokers are built to accommodate wood chips, but some may not, and that’s not a problem because electric smokers do impart excellent flavor on smoked foods. Do not, under any circumstance, be tempted to use scrap wood or treated wood in your unit. These types of wood can produce gases that are harmful if consumed. Improvise by placing wood chips in a disposable aluminum pan with holes drilled into it, and then place your wood chips inside this pan. Place this pan just above the heating element to generate the smoke you require.
Wood chips are not the same, and different wood chips impart varying flavors onto smoked foods. Knowing which wood chips to use for which meats, can make all the difference in highlighting the final taste and flavor of your BBQ. You can use various forms of wood such as chips, logs, chunks, and pellets. The question that remains is do different forms of wood produce different results?
- First, we have chips. Chips are not designed to create heat so much as smoke. Often used on top of charcoal bits, wood chips catch quickly and usually generate a lot of smoke fast. The biggest downside is that they burn up quickly and require frequent replacement.
- Wood chunks are often used with charcoal as well, usually because charcoal generates the needed heat while the chunks slowly burn and produces smoke. Chunks tend to work better in smaller smokers than in larger ones.
- Logs are generally used in bigger offset smokers. In a well-insulated box, logs can burn anywhere from 45 minutes to an hour (depending, of course, on both size and density). Logs last much longer than chips and chunks and can usually create more smoke.
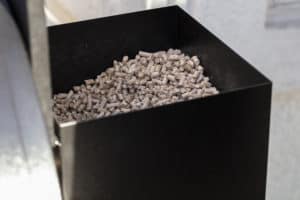
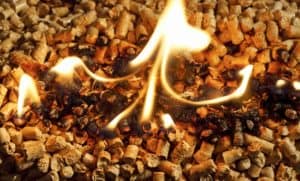
- Pellets are usually made from compressed pieces of hardwood sawdust. They can burn quickly, generating both heat and smoke, but they can generally only be used in designated pellet smokers. Different varieties can be bought.
Master Temperatures For Different Meats
Every meat needs to be smoked, or cooked, at a different temperature for ideal consumption. Making sure that you’re mastering the temperature to cook each different meat. When mastering a smoker, you’re going to want to master a few types of meats before moving on to others.
Generally, most meats need to be cooked to an internal temperature of about 145 degrees while poultry will need to be closer to 160 degrees. If you want your meat to be a little more on the tender side you can also jack up the final internal temperature to 180 degrees. To achieve this, you are usually safe to set the smoker to 200-220 degrees Fahrenheit. The temperature needs to be low to maintain the moisture in your meat. Below is a general guide:
| Meats | Smoker Temp | Finished Temp | Smoking Time |
|---|---|---|---|
| Beef brisket | 225-250° F | 190-205°F | 12 – 20 hours |
| Back ribs | 225-250° F | 185-190°F | 3 – 4 hours |
| Short ribs | 225-250° F | 190-200°F | 6 – 8 hours |
| Spare ribs | 225-250° F | 190 to 203°F | 5 – 6 hours |
| Prime rib | 225-250° F | 135° F for Medium | 15 minutes/lb |
| Chuck roast | 225-250° F | 190-200°F | 12 – 20 hours |
| Rump roast | 225-250° F | 145° F for Well Done | 30 minutes/lb |
| Whole ribeye | 225-250° F | 135° F for Medium | 25 minutes/lb |
| Tenderloin | 225-250° F | 130°-140° F | 2 1/2 to 3 hours |
| Tri-tip | 225-250° F | 130° F to 140° F | 2 to 3 hours |
| Sausage | 225-250° F | 160° F | 30 – 60 mins |
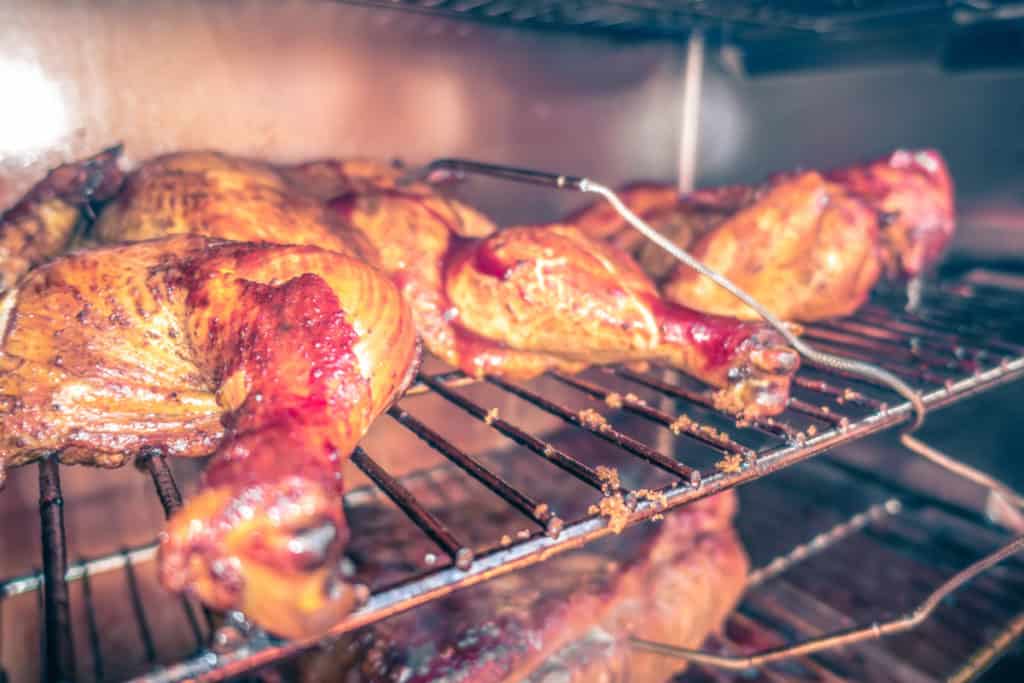
Poultry is less commonly smoked, though still delicious when prepared that way. The time and temperature for smoking usually depend on the size of the bird. It usually takes about 3-5 hours to cook the bird through and you should be safe with a 250-degree smoker.
Brine Before Smoking
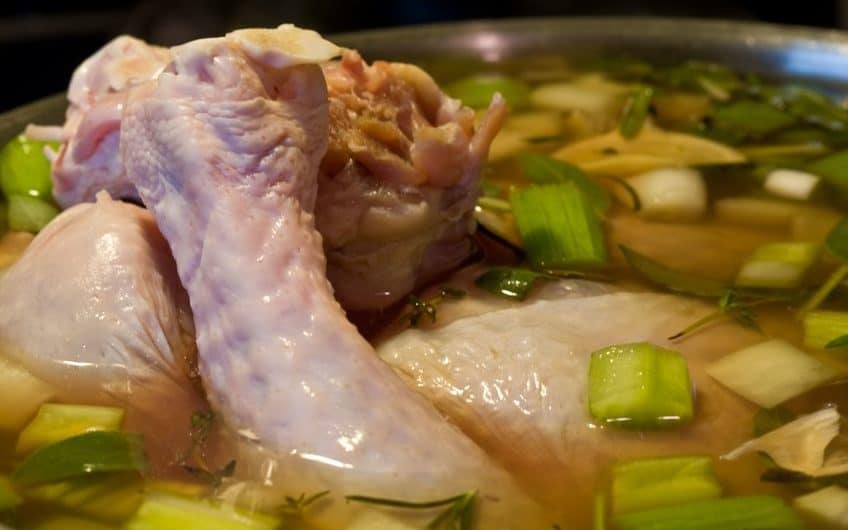
The brining process means soaking your meat in a mixture of salt and water. Why do this? The salt in the water actually makes more room in the meat’s cells to withhold twice as much moisture. It also unravels and swells the meat’s proteins which then tenderizes the cut. Plus, as we all know, salt is the best flavor enhancer out there. A good general rule is to let your meat soak for about an hour per pound. You can really go as long as you like, but you could very easily over brine your meat which will leave it excessively salty (you can counter this though, by leaving it in some cold water for a little while).
Yes, traditional brine is just water and salt, but there are multiple things you can do to spice things up (keep in mind, brines and marinades are different, but the only defining difference is that a marinade does not have the large salt quantity that a brine does). There are many different kinds of brines that you can choose from; here are a few of the most popular!
- Add a sweetening component such as sugar or molasses. Brown sugar and molasses both encourage browning as well as adding a sweet flavor to your meat. Sugar-infused brines are most often used with pork cuts, such as grilled pork chops.
- Use a more exciting base. Water and salt are the traditional components of a normal brine, but there is technically no rule against using another type of liquid as the base. You can use anything from apple juice to pickle juice to buttermilk to brine your meats (buttermilk is most commonly used for chicken). However, keep in mind that if you are using an acidic liquid, you will want to significantly decrease your brining time. If you break the meat down too much it will become unpleasantly mushy and most likely burn your mouth for all the salt and acid it has absorbed.
- You can also add in a few other special ingredients. Using different sauces such as soy and Worcestershire sauce can pack a powerful, flavorful punch to your dish. Another common technique is adding citrus or fresh herbs to your brine. Herbs are a popular option with poultry especially. Thyme and rosemary, for example, make an excellent brine for turkey and chicken. Citrus zest and/or peels and garlic and onions are also great options.
- If you’re really looking to make things interesting, consider using some booze. Alcohol carries flavor quite well and will allow the brine to penetrate more deeply. When using a neutral alcohol such as gin, rum, or vodka, you do not want to go too heavy or the alcohol will overpower the flavor. When using wine and beer, you’re usually safe to use a tad more.
- I’ll bet you didn’t know, but dry brine is a thing too! Some people opt to go with a salt rub instead of soaking their meat. This method is extremely popular for Thanksgiving turkeys because it’s a lot easier than trying to find a large enough container to soak the bird. By using only salt, you can avoid unnecessary moisture and really give the salt a chance to really infuse the meat’s juices. This will give your meat an extra concentrated flavor.
Keeping It Clean
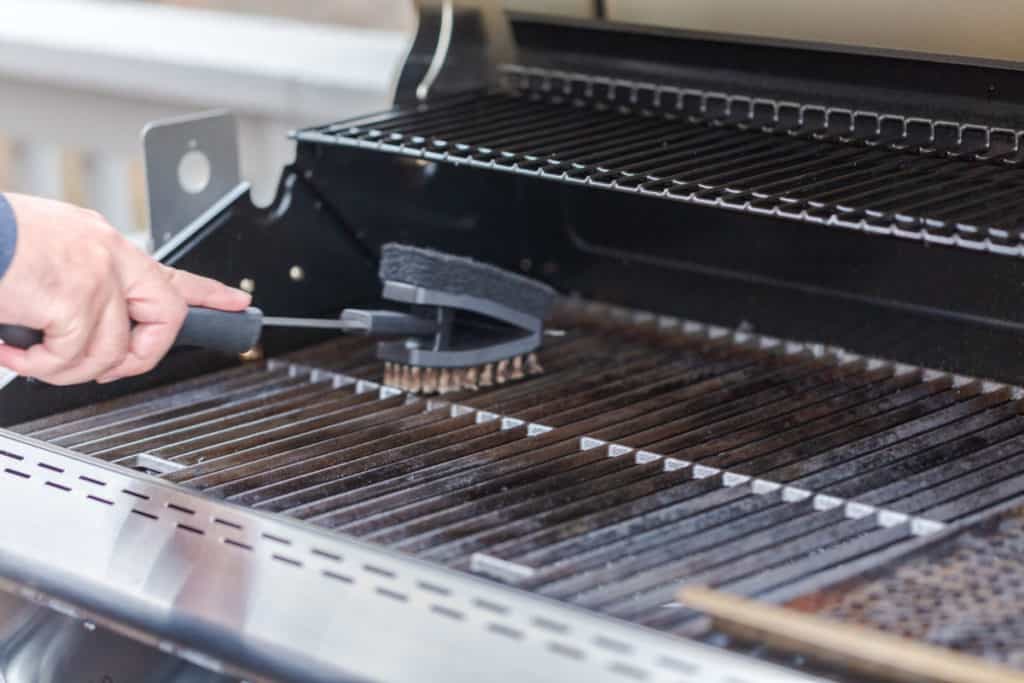
Consistently cleaning your smoker is a great way to ensure that it stays in good shape. Smoking meat can be a dirty process, what with all the cumulative ash, grease, and gristle. If you are not diligent in keeping your smoker clean, you may well be faced with a massive buildup of nasty: crusty grill grates, trays of drippings, and whatever ash is left from the wood. Additionally, if you let this get worse and worse, eventually your meat might start to accumulate an old, overcooked taste, a result of all the “leftovers.” It’s a good rule of thumb to clean the smoker every three to five uses. Here are some good tips and steps to follow:
- Cover your work area(s). The last thing you need is getting ash and grease all over your patio or garage so grab a few newspapers or a tarp and create a protected workspace before you get started.
- Remove the ash. The chip tray (or smoker box) is the area of the smoker where the wood burns. This means it’s most likely going to be full of ash and cinders accumulated from multiple uses. This is easy: just remove the tray and dispose of the ashes. However, if your ash is hot you’ll want to put it in a non-combustible container. You don’t need any fires starting!
- Remove and clean the water pan, drip pan, and shelves. Most smokers have dishwasher-safe pans which will make this part easier. Just scrape off the excess and stick them right in the dishwasher. If they’re not dishwasher-safe, just scrape them clean and finish the job with hot, soapy water.
- Wipe down the sides of the smoking chamber. Scrape off any thick grease (you can use a bristle brush for this) and clean thoroughly with hot, soapy water when done. Make sure you clear the bottom of the chamber of any chunks or remaining gristle, then wipe that down with a sponge or rag as well.

