How to Cure Meat Before Smoking: The Complete Guide
Disclosure: This post may contain affiliate links. If you use these links to buy something we may earn a commission at not additional cost to you. Learn more.
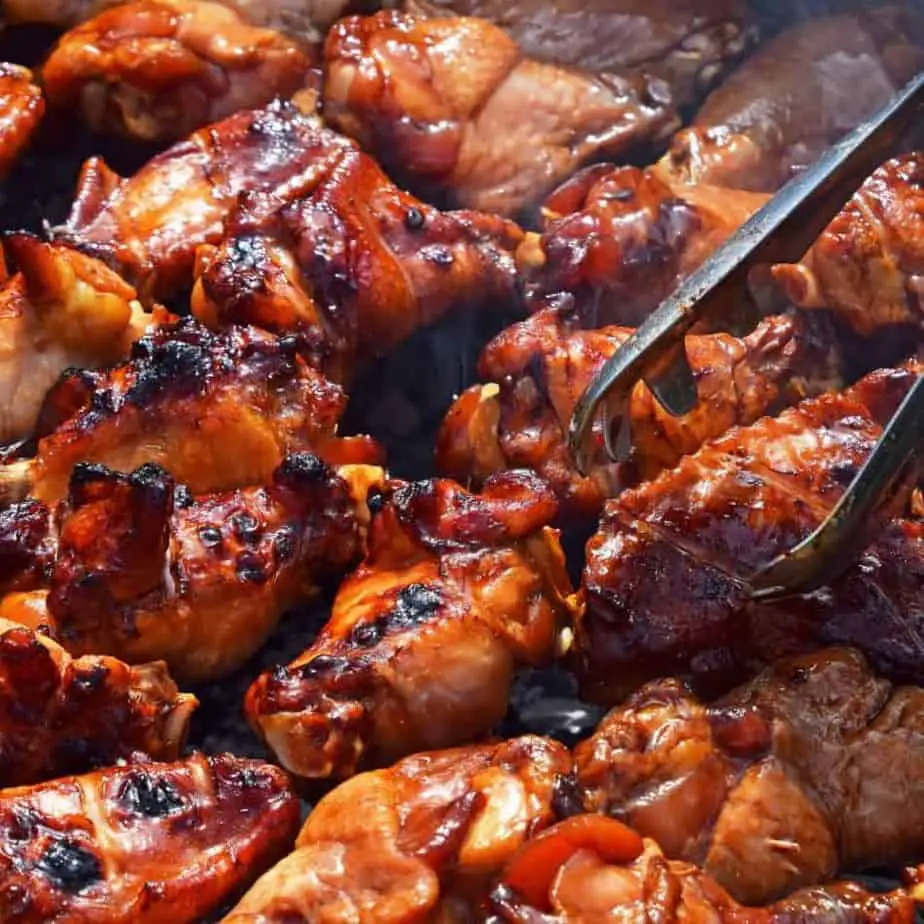
If you have ever had a great tasting brisket or pulled pork sandwich, you know that smoking meat ends up with a delicious result. Curing meat before smoking only enhances the experience.
How to cure meat before smoking? While curing isn’t difficult, it does require time and patience. Depending on whether you are dry- or wet-curing, you’ll follow a different set of steps. We’ll cover in detail in the guide. But here are some basics:
- Choose a type and cut of meat
- Choose your curing method: wet or dry
- Trim excess fat from your meat – salt and smoke will penetrate more easily
- Extra-large cuts of meat may need to be boned and cut down
- Coat your meat with the rub or soak in the brine
- Wait – about 12 hours per pound of meat
- End curing process by rinsing off excess salt
- Pat excess moisture from meat
- You’re ready to smoke!
It’s really that simple. There’s a reason this ancient preserving technique is still widely used today. It’s an easy-to-master and an effective way to a flavorful main course. With the right ingredients, equipment, and time, you’ll be curing and smoking like a pro – and exchanging brine recipes with the best of them – in no time.
Dry Curing Step-by-Step
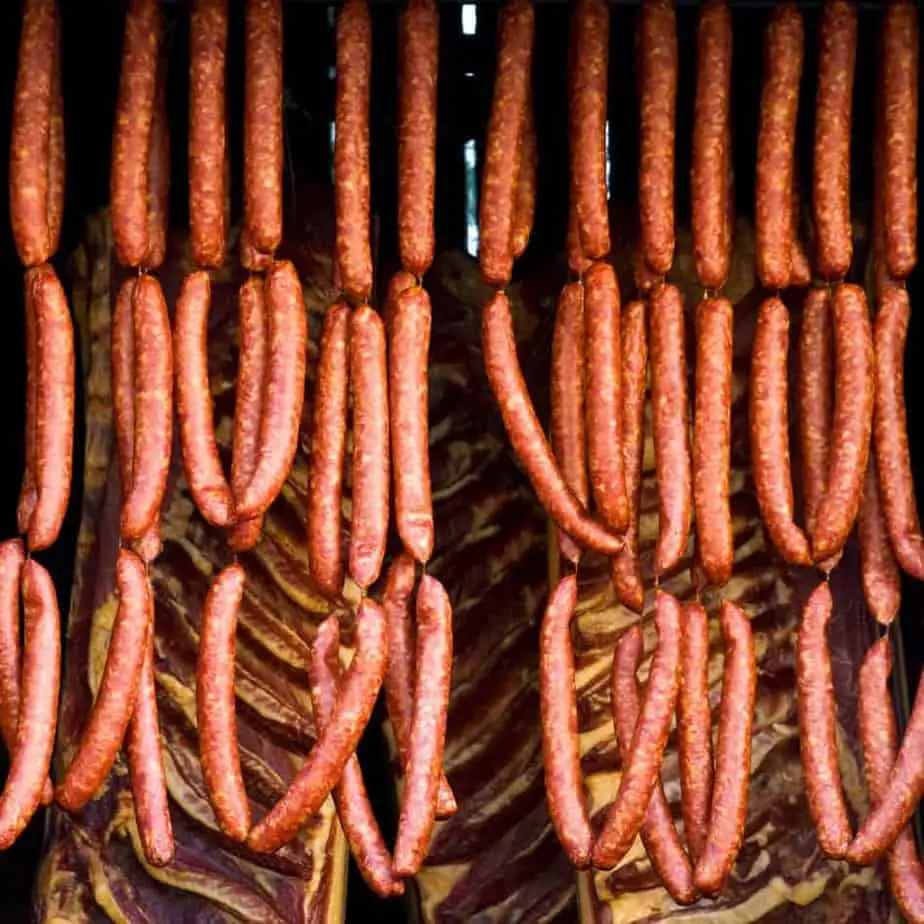
The dry curing method uses a salt-based mixture that includes other dry spices and ingredients and is rubbed into the meat. Count on this process taking 7 to 10 days, start to finish.
Best Meats for Dry Curing
Ham, beef, turkey, game meat – any good piece of meat will do. The best choice, in terms of cut, is a large muscle or sub-primal cut of meat, such as:
- Pork loin
- Strip loin
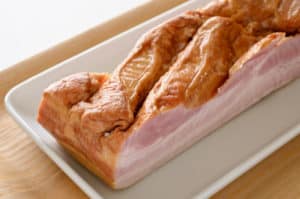
- Pork belly
- Sirloin
- Brisket
- Ribeye
- Beef hindquarter
You generally want bone-in and layers of fat. While you will end up trimming some of the fat, a good thick layer of it to allow smoke and spice to penetrate the meat, fat is still important to help the meat stay moist during the process.
Steps of Dry Curing
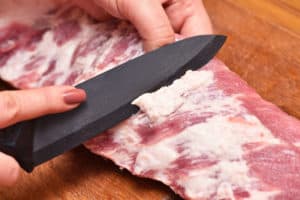
- Trim off any excess fat or straggling bits. Leave a few layers to protect the meat against drying out. Remove any chunks of fat and even out all around for a consistent surface.
- If it’s a cut of meat with a thick layer of fat, you may want to stab the meat with a fork to penetrate that fat layer. This will just create some additional points of entry for the dry cure to be able to sink into the meat more easily.
- Layer on the rub:
- Hand-rub your chosen curing mixture all over the meat.
- Line a baking tray with parchment, cover it with the rub and place the meat on top of it
- Sprinkle more of the mix on top of the meat
- Weigh down the meat with another layer of parchment and another baking tray on top of it
- Some people even place something heavy on top of the tray to help press the curing mixture deeper into the meat. If you do this, leave a small gap for airflow.
- Place the meat in the refrigerator for up to 10 days.
- Remove from the refrigerator and rinse under very cold water.
- Pat dry with a paper towel to remove any excess water.
- Your meat is now ready for smoking.
Choosing a Curing Rub
There are many recipes available for curing rubs – in fact, there are whole books full of them. You may also buy some ready-made rubs online or in many grocery stores and kitchen shops.
There are four main ingredients as a base for any rub:
|
Salt |
Draws the moisture from the meat to inhibit bacterial growth and prepare meat for smoking. |
|
A pink salt that contains sodium nitrite to:
| |
|
Sugar |
Adds flavor and balances the salt. |
|
Spices |
This is what adapts the rub to different cuisines, recipes and flavors. |
Recipes may substitute other sweeteners for the sugar, as well as different types of salt, depending on the desired flavor profile of the finished dish.
Some popular ingredients for a dry cure:
- Brown sugar
- Black pepper
- Cane sugar
- Dry mustard
- Bay leaves
- Cloves
- Onion powder
- Chili powder
- Paprika
- Cumin
Wet Curing Step-by-Step
The wet curing process prepares meat using a salt-water based liquid, known as brine. For this process, count on brining the meat for 12 hours for each pound of meat.
Best Meats for Brining
According to Fine Cooking magazine, the best meats to brine are lean ones that tend to lose moisture while cooking. Turkey, other poultry and some cuts of pork are prime candidates, but any meat may benefit from brining.
Steps of Brining
Once you’ve chosen and mixed your brine:
- Trim the meat to even out the fat and remove any dangling bits.
- Put the meat in a sealable container, brining bag or freezer bag that is big enough to hold the meat and brine without a little room to spare.
- Add your pre-mixed brine to the bag.
- Put your brined meat into the refrigerator. The suggested amount of time is 12 hours for every pound of meat.
- Turn the bag over each day, to allow the brine to soak in evenly.
- If you are soaking longer than 7 days, change out the brine and return the bag to the refrigerator.
- When you are ready to remove the brined meat from the refrigerator, take it out and rinse it repeatedly with cold water to remove any excess salt.
- Pat the meat dry and set on a cooling rack in the refrigerator. Or wrap in cheesecloth in the refrigerator. You may store it for several days before smoking if desired.
- Your meat is ready to smoke.
Preparing a Brine Mixture
The basic recipe for brine starts with salt, water, and sugar. Consult a reliable source for the proper ratio of salt-to-water. Fine Cooking magazine offers this basic recipe, for instance:
- 4 cups water
- 1 cup kosher salt
- ¼ cup sugar
Combine 2 cups of water with the salt and sugar and set over high heat. Stir until ingredients dissolve. Remove from heat and let cool. Add remaining cups of water. Chill in the refrigerator.
Again, depending on the flavor profile you are going for in your final dish, there are many other ingredients you may mix and match. Other popular ingredients may include:
- Molasses
- Whiskey
- Apple cider
- Fresh herbs
- Fresh citrus
- Buttermilk
- Honey
- Ginger
- Vegetables
Remember, for the brine to do its bacteria-preventing duty, your mixture should retain at least 20% salinity. If you’re not good with ratios, you can always purchase a salinometer like this one on Amazon to do the measuring for you.
Tip: Don’t brine any meats that have already treated with sodium nitrite or salt.
Why Cure: What It Does to Meat
Most of us are familiar with the end results of curing and smoking, in terms of developing a depth of flavor and delivering meat that is tender and moist. But how does it work? Here is what the separate processes of curing and smoking do and how they work together to impact the meat’s flavor, texture, and tenderness.
Cured Meats
In the case of curing before smoking, curing is a step in preparing the meat to take on even more taste, tenderness, and flavor in the smoker. But curing can also be performed as a longer-term, single process that ends in a dry-cured meat.
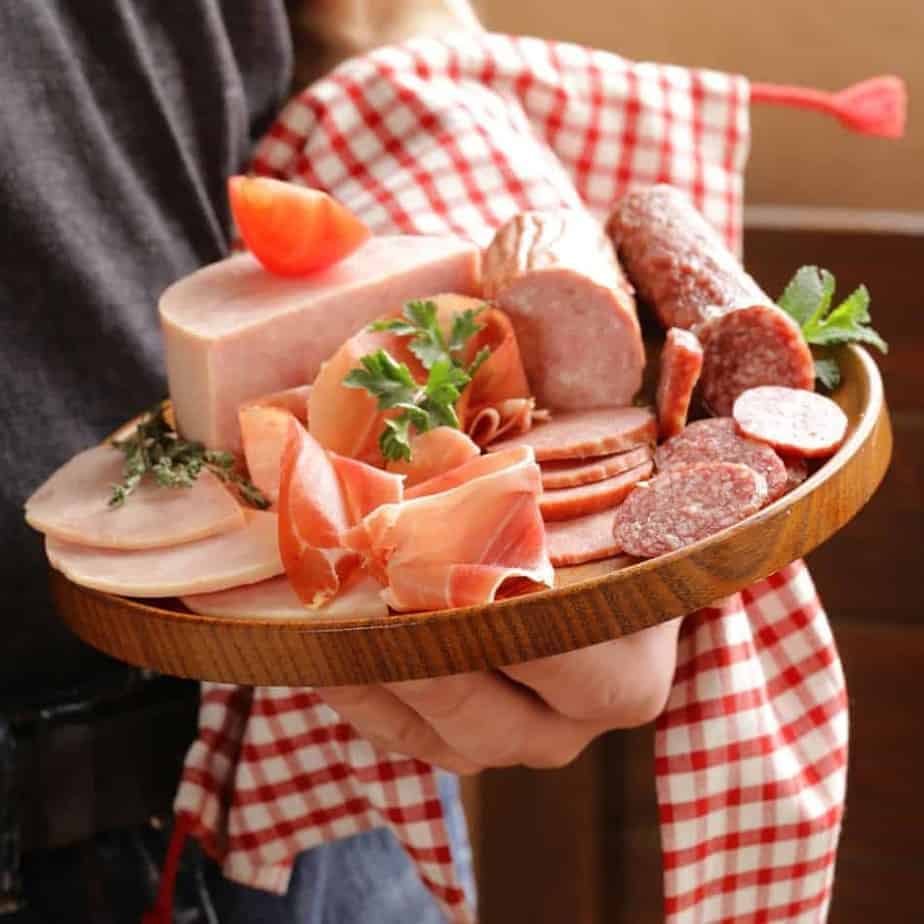
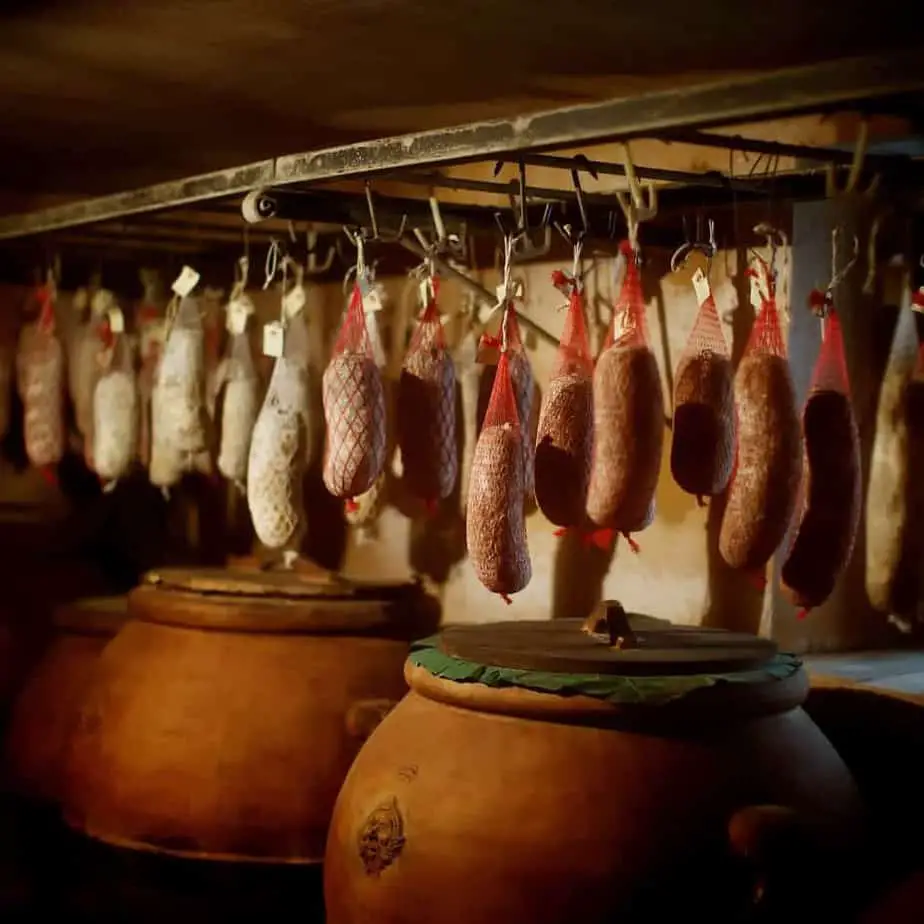
In dry curing, the meat is cured, wrapped in cheesecloth and hung somewhere temperature and humidity can be controlled and monitored for more 8 weeks or more. By this process, as much moisture as possible is removed from the meat, and you end up with a delicious cured meat like prosciutto or salami.
Smoking and curing have been used to preserve food in almost every culture for centuries. Before refrigeration, these processes extended the life of all kinds of foods.
Preservation
Here’s how these simple methods of preservation work, in simple terms:
Curing
With a dry rub, salt dries out the excess water from meat by osmosis. Drawn by the salt, water moves through from meat’s cell walls in an attempt to even out the level of salt on both sides of the wall. This makes the meat inhospitable to bacteria and fungi, as most living things can’t live in such a salty environment.
Leaving the meat in a salty brine pulls the salt into the meat, tenderizing it and, again, making the meat an unfriendly host for organisms. The brine should have a salinity of 20% or more to be the most discouraging environment for bacteria and other protein-loving pathogens.
Smoking
The smoke also has a dehydrating effect on the meat, discouraging bacterial growth. Foodborne pathogens tend to thrive in a wet, warm protein, so drying out the meat is a great step. Also, the smoke creates an acidic coating on the meat, which can assist in the prevention of bacteria formation, in combination with the smoke’s dehydrating effects.
You can see now why using curing and smoking used together offer an even more effective form of preservation.
Enhancing Flavor
While the reasons for curing and smoking were purely practical in ancient times, today we use them mainly to improve flavor. Cooks choose different brines and rubs based on the taste and tang they bring to the meat being cured and smoked.
Brining, in addition to raising the salinity of meat, can also plump it up and tenderize it, readying it to absorb whatever spices and flavors it’s exposed to next.
A Healthier Preparation
Some people choose to smoke meat for the way it introduces flavor and moisture without adding all the calories, fat, and sodium of other preparations.
Does curing add sodium to the meat you eat?
Yes, but not as much as you would think. Cook’s Illustrated magazine sent samples of brined food to a lab to find out how much of the sodium was left behind after the cooking process was finished. They published the results, which indicated that meats retain roughly 1% of the salt used to brine or cure meat.
For example, a 6 oz. chicken breast retained only 270 milligrams of the ¼ cup of salt used in its brine — just 11% of the recommended daily allowance of sodium for healthy people under age 51.
The Importance of Curing before Smoking
In addition to discouraging bacterial growth, curing helps to keep meat from drying out during the smoking process. This is why the processes are commonly used in tandem – they work together to get meat into prime condition for seasoning and cooking. There are two main methods for curing meat: dry curing and wet curing.
For both approaches, the base is salt. The flavor introduced into the process will come from a variety of spices, sugar, herbs, and other ingredients. Some popular liquids for brines include apple cider vinegar, hard apple cider, lemon juice, and whiskey.
Sodium nitrite
This naturally occurring salt and a chemical compound found in many plants that just happen to be effective at preventing bacteria from forming in foods. Even notoriously tenacious pathogens, such as botulism can be slowed down by the presence of sodium nitrite.
Caution must be exercised when using it in recipes. Sodium nitrite is toxic in large quantities. If you are whipping up a dry rub from scratch, always consult a reputable source for a safe and effective dry cure recipe.
Sodium nitrite is commonly found in many premixed curing salts that can be found online or in specialty shops.
Smoking
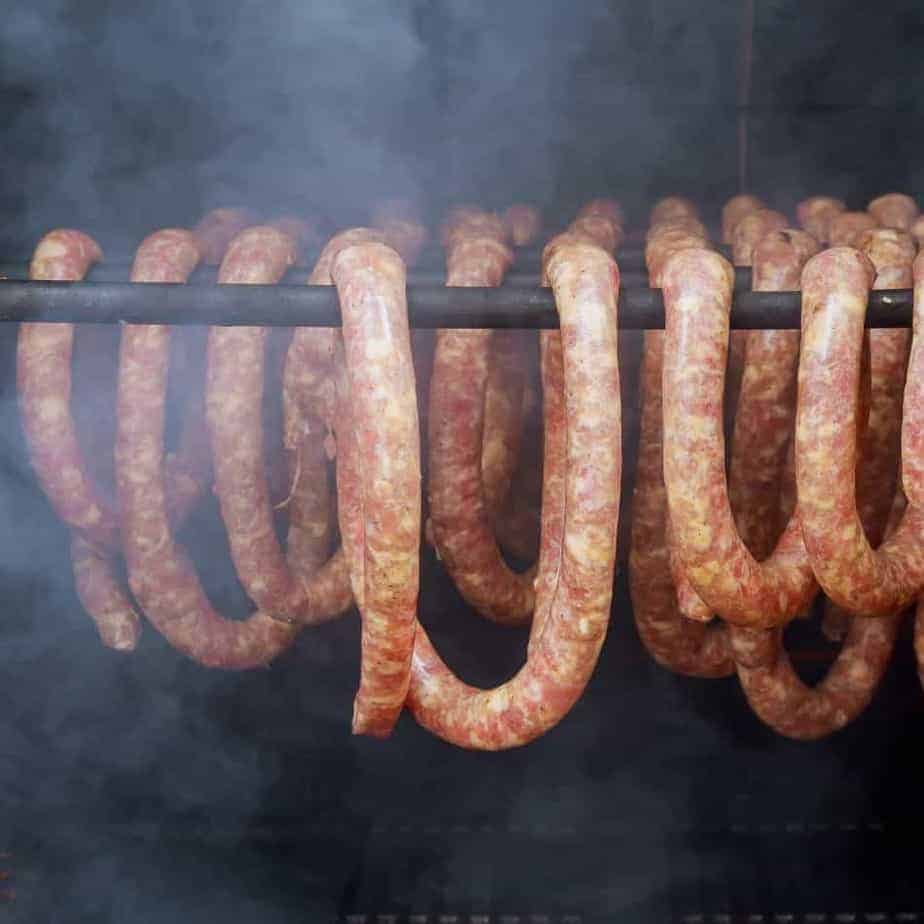
Smoking cured meats involves introducing smoke to meat tissue by indirectly heating at a low heat over smoldering hardwood chips for a long time. The process is done to add flavor, aroma, and texture, as well as preserve the meat.
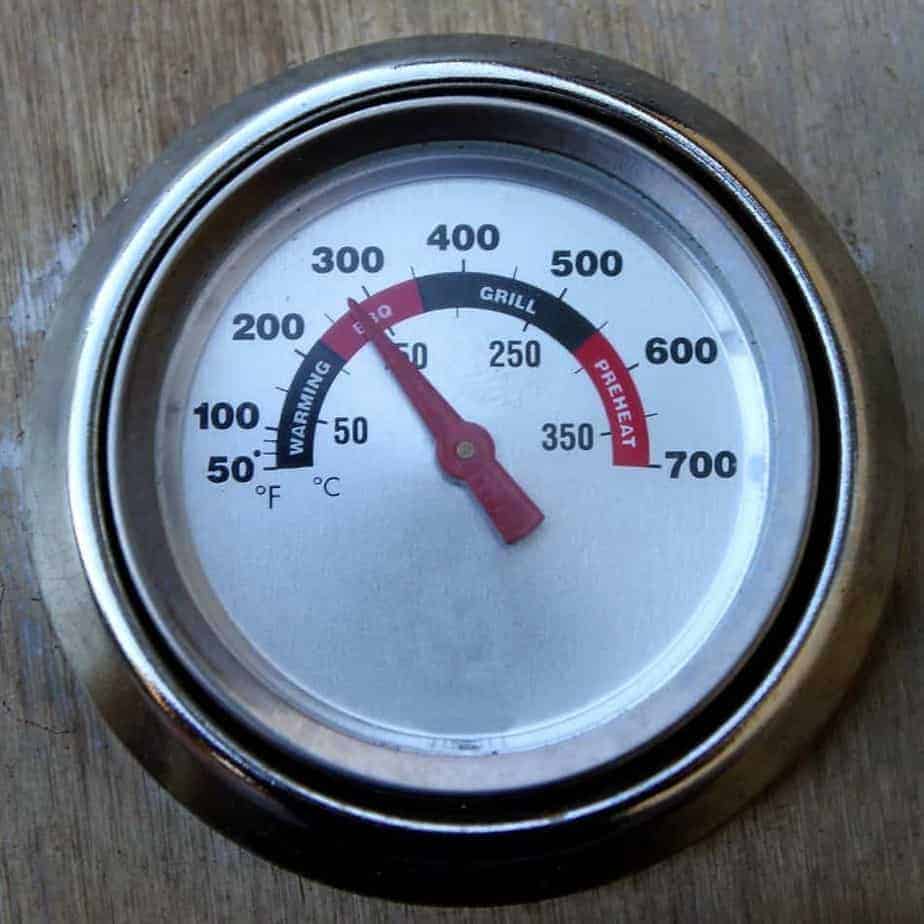
There are two types of smoking: cold smoke and hot smoke. The temperature range varies greatly between the two. Cold smoking can start as low as 70°F, while hot smoking may go up to 220°F.
Cold smoking only infuses the meat with smoke flavor; it does not cook the meat. Hot smoking adds smokiness and cooks the meat, as well.
Reasons to Smoke Meat
- Preserve
- Add aroma and flavor
- Deepen color
Methods of Smoking
|
Method |
Equipment |
Temperature |
Time |
Reasons/Benefits |
|
Hot smoking |
Smokehouse or kiln, gas or electric Hardwood |
low heat 150°F -220°F |
up to 24 hours |
Adds smoke flavor Dehydrates Destroys bacteria Preserves the meat Cooks meat to a safe temperature (160°F or more) |
|
Cold Smoking |
Dual chambered smoker: one chamber attached to a separate chamber for fire Hardwood |
Less than 100°F |
Adds smoke flavor Removes excess moisture Doesn’t cook to an internal temperature of 160°F |
Why the long duration and low temperature: slow cooking keeps meat more succulent and tender.
Tip: After the cold-smoke method, you must continue the cooking of the meat another way until it reaches a safe internal temperature of 160°F.
Types of Smokers
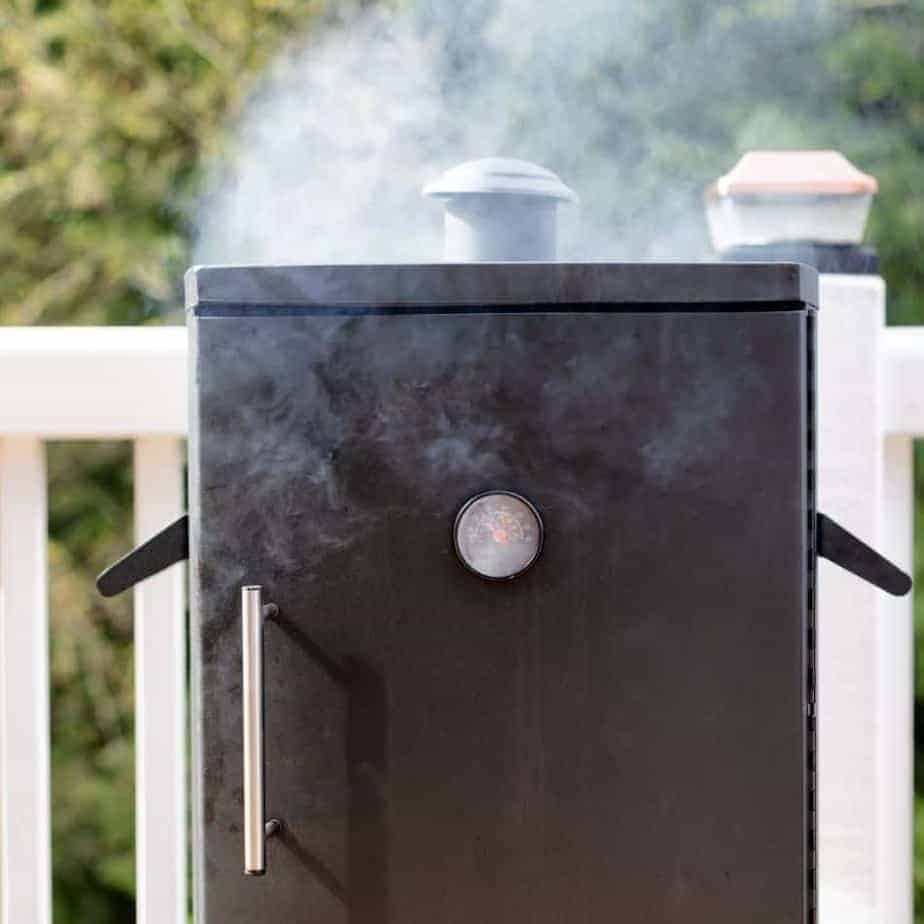
Smokers may be fueled by charcoal, gas, or electricity and come in a variety of sizes. They can be purchased ready-made or put together from things you have at home. For instance, there are easy-to-follow instructions on Mother Earth News for how to build your own smoker out of terra cotta pots and an electric griddle.
Comparing Types of Smokers
|
Fuel |
Information |
Cost* |
|
Wood Fire |
Deep, woody flavors Difficult to control the temperature Fire requires a lot of attention Difficult for beginners | Around $200 |
|
Electric Heated coil causes wood to smoke |
Light wood flavor Dial makes it very easy to control heat Good for beginners | Around $200 |
|
Propane Gas-fueled flame |
Light flavor Simple to control Inexpensive Good for beginners | Around |
|
Charcoal |
Deeper flavor than gas or electric Hard to maintain fire Difficult for beginners | Around $200 |
|
Pellet Condensed wood pellets instead of firewood |
Deeper flavor than gas or electric Easier to control heat than firewood Expensive Good for beginners | $400 and above |
*all pricing examples are found on Amazon.com.
Making Your Own Smoker
There are plenty of plans online for how to make a smoker out of terracotta pots. And they work. Most of the materials you need can be found inexpensively – and you might find some right around the house or shed. Starting with a few large clay pots and an electric hot plate, you can assemble your own and be smoking in no time.
If you’d like to give it a try, find full plans at Mother Earth News, Instructables or one of dozens you’ll find online.
Best Meats to Smoke
There are many types of meat that are great in the smoker. Bigger cuts are better, including:
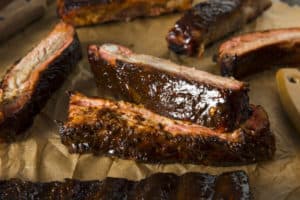
- Ribs
- Beef brisket
- Pork shoulder
- Whole turkey
- Pork butt
- Prime rib
- Whole hens
- Pork roast
But you can’t really go wrong with most meats, especially if they are nicely marbled. The fat melts slowly during the smoking process and results in a very tender and juicy smoked meat.
Choosing a Firewood
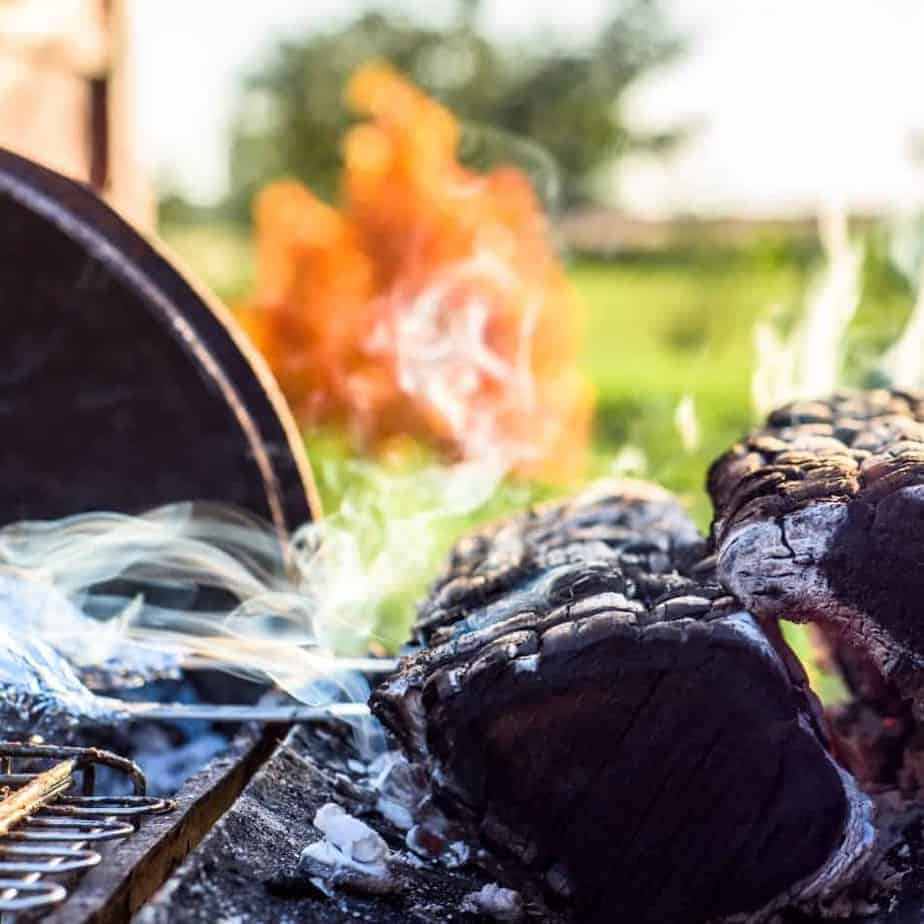
When it comes to choosing a wood, it’s pretty simple: you want a hardwood. Soft woods, such as pine, have a higher level of sap and terpenes, or essential oils, that can give off a thick, pungent smoke and an unappetizing taste. In general, if a wood doesn’t make for a good smolder and slow-burning fire, it won’t make a good wood for smoking.
Woods for the Smoker
Choose a wood for its flavor profile or mix and match woods for a combination of flavors in your smoker. Wood can be added to the smoker as sawdust, chips, chunks or pellets. Refer to your smoker’s manual or the recipe you’re using to determine what will work best with what you are trying to accomplish.
Light, Sweet and Mild
|
Alder |
This mild flavor is great for fish, vegetables, poultry, or white meat. |
|
Apple |
Applewood gives a special sweet and fruity smoke that pairs well with pork, fish, and poultry. |
|
Cherry |
Sweet and fruity with a mildly tart aftertaste, cherry goes well with almost anything, from pork and beef to duck and venison. |
|
Sweet Birch |
Sweet and delicate, sweet birch pairs well with chicken, fish, lamb, pork, and vegetables. |
Mellow or Deep
|
Maple |
Mellow, subtle and sweet, maple is ideal with turkey, ham, pork, beef, poultry, game, and vegetables. |
|
Pecan |
With a mellowness like that of hickory, pecan burns cool and leaves meat with a fruity flavor. It pairs well with chicken, duck, pork and even brisket. |
|
Mesquite |
Its characteristic tang and heat are ideal with pork, steak, ribs, and almost any red meat. It’s pungent over time, so if something will be in the smoker a long time, consider oak instead. |
|
Oak |
Mesquite’s mellower, more subtle cousin, oak is great with beef, steaks, and ducks. Its subtle flavor gets deeper the longer meat smokes in it. |
|
Hickory |
A flavor almost synonymous with bacon, hickory is best paired with any cut of red meat, anything barbecued or broiled and is great with ribs. |
Tips for Choosing and Using Wood
- Woods are great mixed together. Experiment with pairing a deep-flavored wood, like oak with something light and fruity, like apple. But avoid pairing two woods that bring a strong flavor, for fear of overpowering the meat.
- Soak wood chips in water for at least 30 minutes (and then drain them well) before adding them to the fire. This prolongs their burn and smolder.
- Control a fire by controlling oxygen and moisture. More oxygen means a bigger flame. More moisture means more smolder.
- Other ingredients can be added to the wood for new flavors: dry herbs, spices, and teas
- Soaking wood chips in a juice or beer instead of water can bring a new depth of flavor.
Food Safety
Before you venture into the world of curing and smoking, make sure you know the safe internal temperature of the meats you intend to cook. Especially during such a long process, it’s also very important to be aware of what it means for a food to remain in the “danger zone†for too long.
Danger Zone
The danger zone for foods is 40 °F – 140 °F. Bacteria grow most rapidly in that range. According to the USDA Food Safety and Inspection Service (FSIS), bacteria can double in number in 20 minutes. Food left out of the refrigerator for more than 2 hours is at high risk of bacterial growth.
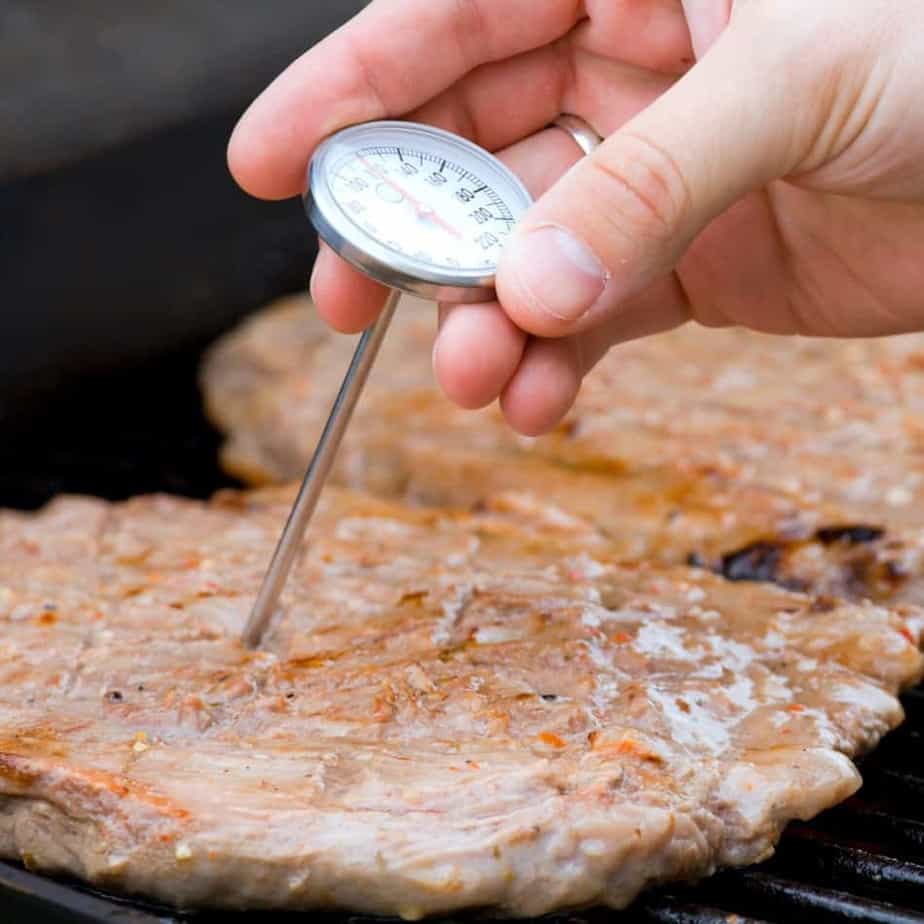
To keep food safe, you’ll have to monitor the temperature of the meat, as well as the internal temperature of the meat. Don’t skimp on having enough thermometers to go around. You can use a simple probe thermometer or something as high-tech as the new wireless options.
The USDA FSIS recommends meats be cooked to a standard minimum internal temperature, as measured with a food thermometer:
- Raw beef, pork, lamb, veal, steaks, chops, and roasts – of 145 °F
- Raw ground beef, pork, lamb, and veal -160 °F
- Poultry – 165 °F
Note: Most recipes for smoked meats will recommend an internal temperature of much higher, for the sake of tenderness.
Tip: Curing should never be used to salvage meat that is already spoiled. It won’t work.
Have Patience for the Process
Curing and smoking take time. They are processes. Curing takes days, and smoking takes anywhere from a few hours to overnight. In other words, you can’t start today what you’d like to eat tomorrow.
Measuring the internal temperature of meat is always more important than the measurement of how long they cook. However, you still must have an idea of recommended cooking time and temperature to know when to get started.
How Far to Plan Ahead
The most important thing to plan for is the curing process. If you have a large cut of meat, remember that a brine takes 12 hours for every pound of meat. If you have a 5 lb. brisket, get started at least 3 days ahead of time because you’ll need another 8 hours set aside for smoking.
Get yourself a cookbook or two dedicated to smoking and curing. Most have charts you can follow for how long to smoke different meats, depending on what kind of smoker you’re using. You can even find these charts online. Having one on-hand is essential as you venture into trying out different recipes and techniques.
A good chart will tell break it down by the cut of meat, cooking temperature, cooking time, as well as the recommended internal temperature. Sometimes this will be a total cooking time and other times, it will be a time per pound of meat. This chart, excerpted from CharBroil.com:
|
Meat |
Cut |
Cooking Temperature |
Estimated Cook Time |
Target Internal Temp |
|
Pork |
Butt (Pulled) |
225°F |
90-120 min/lb. |
205°F |
|
Pork |
Butt(Sliced) |
225°F |
90-120 min/lb. |
180°F |
|
Pork |
Spareribs |
225°F |
5-7 Hrs. Total |
190°F |
|
Beef |
Brisket (Pulled) |
225°F |
70-90 min/lb. |
200°F |
|
Poultry |
Chicken (Whole) |
250°F |
30-45 Min/lb. |
165°F |
Get Started!
Gather the gadgets, set aside the time, and visit your local butcher. With a little preparation and a lot of patience, you’ll be serving flavorful brisket and tender pulled pork in no time.


