How to Correctly Use a Smoker Box on a Gas Grill
Disclosure: This post may contain affiliate links. If you use these links to buy something we may earn a commission at not additional cost to you. Learn more.
When I first got started in BBQ, I had to use a smoker box on my propane gas grill since I didn’t have an actual smoker. When I was using a smoker box, I learned a lot of dos and don’ts that I thought would be good to share.
How do you use a smoker box on a gas grill? The basics for using a smoker box on a gas grill are:
- Preheat your grill with all burners on high for about 10-15 minutes. Once the grill is preheated, you will set up the grill for indirect cooking (in a later step).
- Load your smoker box with wood chips of your choice.
- Place the smoker box over a burner you will leave on during indirect cooking.
- Once the box starts smoking, set up the grill for indirect cooking by turning off all burners the food will be over.
- Adjust the remaining lit burners until the internal temperature is between 225℉-250℉.
- Add the meat to the grill and smoke until food reaches the desired internal temperature.
***Until the meat reaches about 160℉ internally, you will need to add additional wood chips when they stop smoking. ***
As you can see, the high-level setup and execution of using a smoker box are pretty easy and straight forward; however, there are additional low-level details that will help you get the most out of using your gas grill as a smoker. Here are the things I learned over my years to using a smoker box.
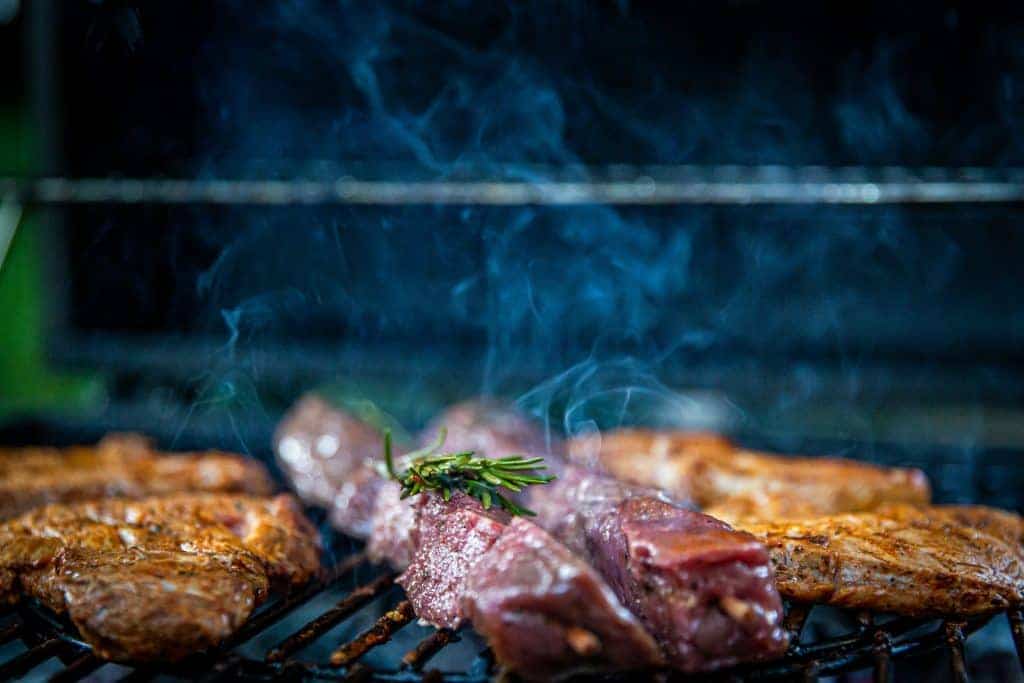
Preheat Your Gas Grill
Before you start, you need to go ahead and start preheating your grill. To get my grill up to temp faster, I light all burners and set them to high for the first 10-15 minutes to allow the grill to get nice and hot. This will help the wood chips ignite faster when you finally put the smoker box in the grill.
During the preheating phase, your grill will start to get up to normal grill temperatures. Don’t worry, we are going to shut off the burners we don’t need when we set up the grill for indirect cooking later.
If you are worried about the grill getting too hot, you can simply set all burners to medium or low instead. The only drawback would be it that it may take the wood chips a little longer to ignite…no big deal. The primary goal here is just to even out the heat in the grill in order to save time when you finally start cooking.
Getting The Smoker Box Ready
First, you will need a smoker box, or you can make one of your own. Either way works, except commercial boxes will be made of better materials, are reusable, and a less of a “screw with it†factor.
You can buy smoker boxes from many major department or home improvement stores that have an outdoors and/or patio section. Just find the grilling and BBQ supplies, and I’d be surprised if you don’t find one. If you have a day or two to spare, your options online are MUCH greater.
Personally, I like the Weber Smoker Box found on Amazon. It’s easy to use and made of durable stainless steel so it heats up quickly. There are many similar boxes to choose from, and most of them would be great, I just like and trust Weber products overall.
If you want to go a do-it-yourself option, you can create a simple smoker box out of a small aluminum pan with a foil lid, or simply use aluminum foil to create a ball with wood chips inside. Simply load the wood chips in the tray or aluminum ball, and then poke several holes in the top to allow the smoke to escape.
The DIY options work in a pinch and are perfect for making do with what you have around the house. Why not give it a try?
Once you have a box or something to hold the chips, simply load the wood chips of your choice and close it up (or wrap it up if you are using a foil ball method).
What wood chips should I use?
The type/flavor of wood chips you select depends entirely on what you’re cooking and your personal taste. Below is a list of common woods people use, what meats they pair well with, and their flavor “profile†(in no particular order). If you want a more complete list, check out The Ultimate Guide to BBQ Smoking Woods.
- Hickory
- Great for all types of red meat, especially pork (think hickory bacon).
- Strong and pungent wood that is sweet and adds a strong smokey flavor. Be careful not to use too much (a little goes a long way).
- Mesquite
- Good with red meats as an additional flavor. Avoid using with “lighter†meats (such as fish).
- Strong and intense flavor. Use in extreme moderation as you can easily use too much.
- Apple
- Perfect for Pork, Poultry, and some seafood.
- Mild, mellow, and subtly sweet. It’s flavor profile also makes it a good for blending with other woods to add complexity.
- Cherry
- Great all-purpose wood for just about anything: Pork, Beef, Poultry, Wild Game.
- A Sweet and mild flavor that mixes well with other woods. Known for the rich mahogany color it gives to meat; especially chicken and turkey.
- Alder
- Perfect for fish. It is also decent with poultry.
- Mild, delicate, and subtly sweet. Good choice for avoiding overpowering the flavor of “lighterâ€, more delicate, meats.
If you’re not sure what you’d like, or if you want to try something new, check out Western BBQ’s variety pack on Amazon. The pack lets you try Hickory, Mesquite, Apple, and Cherry. Western also has a bag of Alder, if you want to give that a try.
Wait…aren’t we supposed to soak the wood chips? Well…
There seems to be a pretty big split of opinions of whether you need/should soak your wood chips or not. I have tried both soaking my wood chips, as well as keeping them dry, and my opinion is that it doesn’t really matter. Actually, soaking the chips seems completely pointless in most situations. Here’s why.
Most sites recommend soaking your wood chips from anywhere between 15 min to over 24 hours. The theory is that the wood absorbs the water and keeps the chips from burning up too quickly. While that is somewhat true, I feel the advice is actually somewhat misguided for a couple of reasons:
- Wood chips simply don’t soak up that much water within the typically recommended soaking times. Yes, the surface is damp, but the water doesn’t penetrate that deep.
- The wood chips themselves can’t actually start burning, thus releasing their flavory goodness, until all the water has been evaporated out. That’s right, what you are seeing initially is steam, not smoke.
I don’t remember everything from science class, but I do remember that water boils at 212℉. And since wood doesn’t combust to until well over 500℉, physics says that the heat energy can’t ignite the wood until all the water has been boiled off.
As you can see, and my personal experiences have confirmed, soaking doesn’t seem to do anything except give people the false impression that the chips are producing more smoke for longer periods. What’s actually happening is that the wet chips produce steam until they are completely dry, then they start burning and producing smoke. So soaking your wood chips only delays the time it takes for the smoking process to start.
How to Setup Your Grill For Smoking
Now that the grill is preheated, and the smoker box is loaded and ready to go, it’s time to set up your grill for indirect cooking. This is where we turn off burners that are directly under the food so that the food cooks through the ambient temperature in the grill rather than direct flame/heat.
How you set up your grill for indirect cooking will depend on your grill. I have a 3-burner grill so I just shut off the left and middle burners while leaving the right burner on. This basic idea is the same across other gas grills, but your owners manual should have instructions on how to set up your particular grill for this method.
How that the grill burners are set up correctly, you now can place the smoker box over the remaining lit burner (in my case it would be the one on the right). With the box in place, close your lid and let your grill settle down to its new temperature.
Before you add your food, you will need to adjust the remaining burner up or down until to reach a grill temp of between 225℉-250℉. Since heat changes aren’t instantaneous, be sure to allow enough time for between each adjustment for the temp to stabilize.
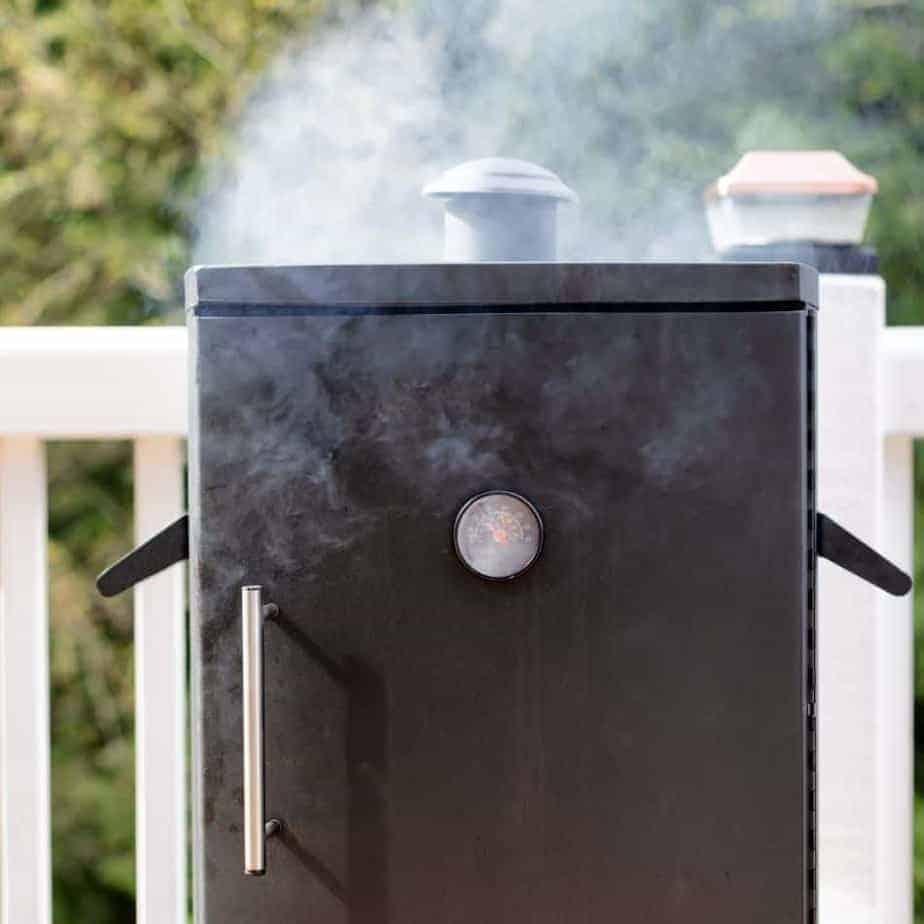
Hopefully, but the time you get your grill into the target heat range, your smoker box will have already started to smoke. If not, just wait a few more minutes until that happens and you’ll be ready to add the meat.
For a quick and easy way to monitor your grill temps, or you don’t want to be tied to your grill, check out the ThermoWorks Smokeâ„¢ (2-Channel Alarm) or Signalsâ„¢ (4-Channel Alarm).
Let’s Get Cooking
When your grill temperature is within 225℉-250℉ for red meat, or 250℉-300℉ for poultry, it’s time to make magic happen. Place your food over the unlit section of burners and close the lid.
At this point expect to be cooking for about 1.5 hours per pound of red meat, or 20 minutes per pound for poultry (assuming the recommended temp ranges I provided). It’s important to understand that this is only a very rough estimate and can vary wildly from meat to meat depending on a variety of factors. Also, know that this estimate is not for the total amount of meat you are cooking, but the weight of an individual cut of meat.
At this point, the hard work is done and it’s time to sit back, relax, and make continued excuses for why you need to stay outside next to the grill.
Adding more wood
Since you will be cooking for hours, you will need to occasionally check that your smoker box is still smoking. If not, you will want to keep adding more wood chips to keep the smoke going.
While you don’t need to do this for the entire cookout, you will at least want to continue checking and adding until your food hits about 160℉ internally. I have found that the meat I cook doesn’t absorb much more smoke after it reaches this temperature.
When is it done?
While BBQ is technically done when it’s internal temperature is at least above the recommended safe cooking temperature for the type of meat you’re cooking, in most cases, this won’t give you the best results.
For red meats (beef, pork, etc), I recommended continuing to cook until the internal temp is somewhere between 190℉-200℉. This high temp allows all the fats and collagens to render and fully break down; resulting in a tender and juicy hunk of meat.
As for poultry, you should cook it to the temperature of 160℉ in the breast, and 175℉ in the thigh before removing from the grill. While this is slightly lower than the minimum safe temperature, this allows an additional 5℉ to 10℉ of carryover cooking it will do while resting.
Don’t trust or listen to methods of checking for doneness that doesn’t involve checking the internal temperature. The most common involve touching meat to see if it feels a certain way, seeing if the meat bends a certain way or even those little plastic popup things in turkeys. None of these are reliable ways to check for doneness and none can verify if your food is safe to eat. Checking the internal temperature is the ONLY way to verify your meat is done and safe to consume.
With that being said, the best thermometer I have ever used has been the Thermapen Mk4 (they are definitely worth the money) (they are definitely worth the money). I have tried several imitators out there, but nothing compares to genuine products from ThermoWorks. Yes, they may seem a little pricey, but trust me, you get what you pay for.
Check out my guide on smoking times and temp for more on how long to cook various meats at what temperature. Also, as a supplement to this post, I have also created a more general article on How to Smoke Meat on a Gas Grill.
Related Questions:
How long do wood chips take to smoke? When placed in a hot grill over a lit burner, wood chips typically start smoking within 5-20 minutes. The amount of time will depend on the burner’s heat output (BTUs), type of wood, and the wood’s moisture content.
How do you stop wood chips from catching on fire? The best way to prevent wood chips from catching on fire is to deprive them of oxygen. The easiest way to do this is to pack them tightly together in something like a smoker box or aluminum foil.

