How to clean an electric smoker with mold: step-by-step guide
Disclosure: This post may contain affiliate links. If you use these links to buy something we may earn a commission at not additional cost to you. Learn more.
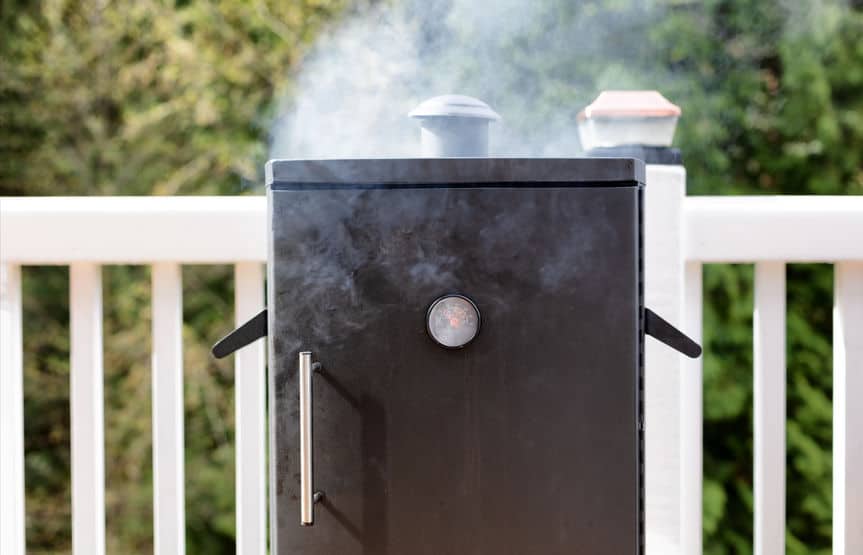
Mold is disgusting, so it’s important to know how to keep it from developing in your appliances, and what to do if it does. In this article, we will lay out what to do if your electric smoker starts to develop mold and how to clean it.
1. Know What Causes Mold To Develop
Once you know what might be causing mold to appear in your smoker, you will know what to do to help prevent it!
Mold loves moisture, grease, and cold, damp places. This is why most mold growth, especially inside of something like an electric smoker, generally occurs in the fall and winter months. If you don’t clean your smoker after using it and then leave it for a few months, chances are that by the time you open it again it will have developed at least a little bit of mold.
The cover can contribute to this because it can easily trap moisture underneath it. If your smoker is in good condition, tight, well painted, and made of a durable metal like stainless steel, you probably don’t need to put a cover on and your smoker will still be fine.
2. Prepare Your Electric Smoker For Cleaning
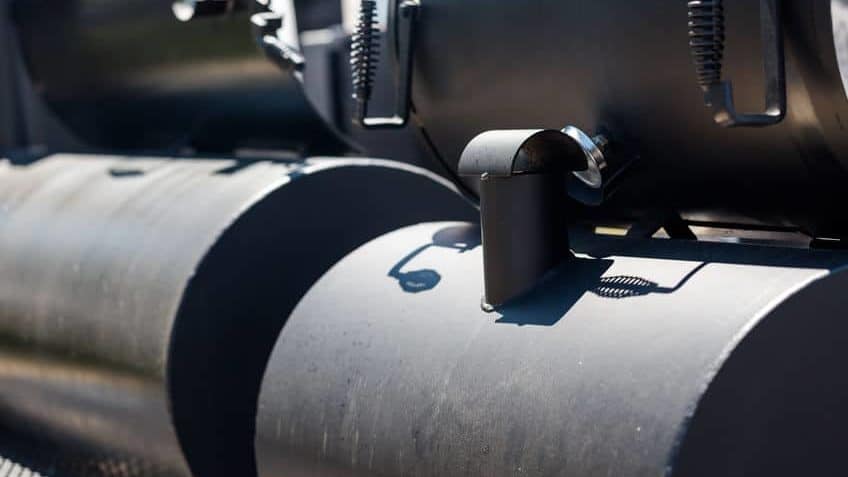
Take out any charcoal, briquettes, etc. that might still be inside of the smoker. Wait until after Step 3 to take it apart or discard any extra stuff from inside of it like the racks, drip tray, and water pan.
Make sure you have the proper materials for the cleaning process, including a non-metal bristle/wire brush, soft cloth, power washer (if needed), sponge, bucket, and tarp (or just something to put underneath the smoker as you clean). You will also want to make sure to wear cleaning gloves and a face covering or mask. Mold is terrible for your health and you don’t want to risk inhaling any of the spores and having an allergic reaction.
3. Fire Up The Smoker
This is the first and one of the most important steps for cleaning out an electric smoker with mold in it. Try to get the tempurature as high as the smoker or grill can safely handle. The smoke and heat will kill and burn away the mold. It will also loosen up any dirt and extra debris inside. It’s important to do this step first because it will work on killing the mold and and help make it easier to get any extra grease and mold out.
Do not use a scraping brush, or power wash the smoker first, since this will just spread the mold and might cause some to brush up into your face. Keep the smoker on this high heat for a half hour at least – an hour at the most. And once again, be sure that you’re heating it up as high as possible.
4. Scrape and Scrub Out All The Parts
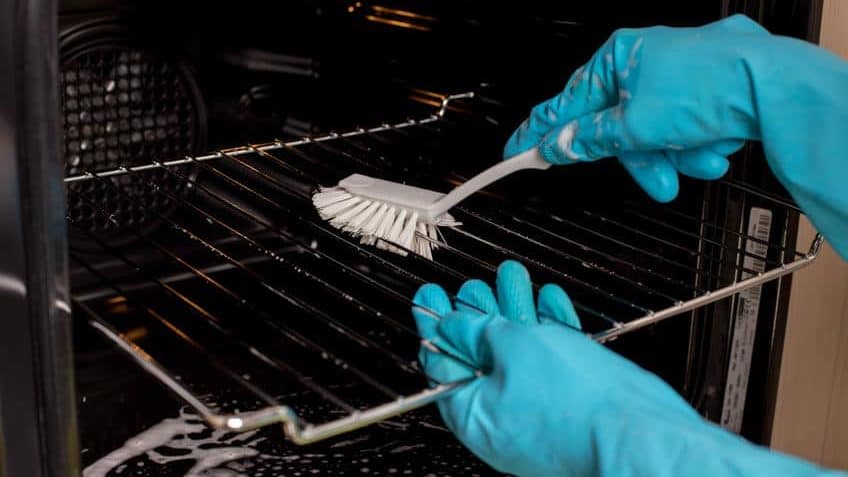
After you’ve let everything cool down inside the electric smoker, the next thing to do is take a wire brush, or something else like it, and scrape and scrub every piece. You will probably want to take out the racks and the drip pan for a deeper, more accessible cleaning.
One tip commonly discussed when it comes to cleaning out smokers is to spray the inside with a mix of hot water and apple cider vinegar, leave it for 5 to 10 minutes, and then wipe it out with a rag. Vinegar is a natural disinfectant and a good cleaner. Oven cleaner might also be a good product to try if you’d rather use that to clean out your electric smoker.
5. Power Wash It
After you’ve scrubbed down the different parts of the smoker, the next thing to do is power wash everything you can. The difference between a power and pressure wash is a power one uses heated water, while a pressure one does not. Once you’ve cleaned everything this way once, a good thing to do would be to wash everything with soapy water, and rinse it out gently and thoroughly.
Be careful when using a power wash because if you use it wrong you could break your smoker. Power washing might not be the most effective way to clean every part of it. For instance, it would probably work well for cleaning the racks, but not for the window.
6. Put It Back Together

Now you can put everything back inside the main body of your smoker. It’s a good idea to fire it up one more time to burn away any leftover moisture. At this point you can scrub it down again to see if anything else comes out and if it needs any additional cleaning. After this it’s ready to cook in again!
7. Lightly Coat The Inside With Oil
Doing this after a deep cleaning of your electric smoker will help keep it from corroding and prevent mold from growing back as quickly. Use a high temperature grilling oil (like sunflower or canola) in a spray can and spray it inside. Then leave the doors propped open until you’re ready to use the smoker again.
8. Know How To Prevent Mold In The Future
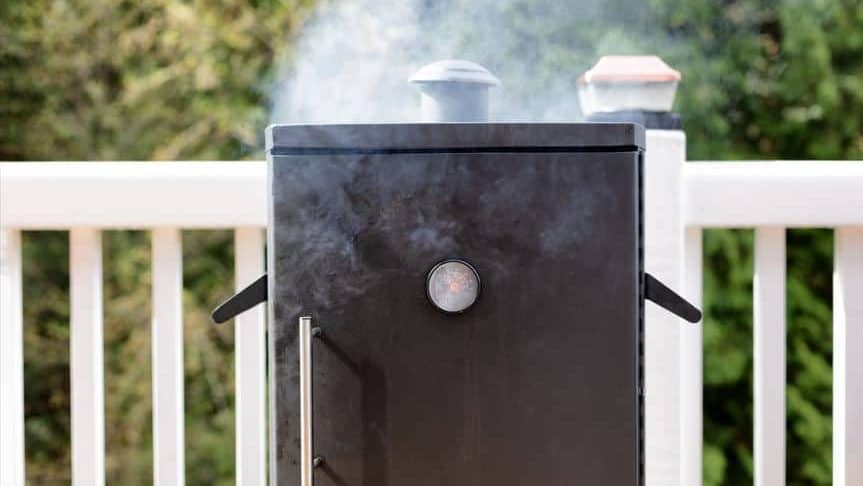
The best thing you can do to prevent mold from growing inside your electric smoker is to clean it out after each use. As soon as you are done using it, superheat it. This will guarantee that there is no extra food or gunk left inside for mold to start to grow on. Scrape any extra grease off the interior on a regular basis and make sure to give it a really good clean if you don’t plan on using it for a while. Store the smoker in a dry place with the vents open to keep moisture from building inside.
Additionally, spray a grilling or vegetable oil on the racks before you cook to keep food from sticking to it. Just be sure to wipe any excess off afterwards.
When you first get your electric smoker, season it. This means you turn it up to the highest heat before using it for the first time and just leave it empty. This allows it to clean out any additional manufacturing debris from the inside before you put any food in it. Source

