Smoking Cheese in an Electric Smoker. It’s Going to be Gouda!
Disclosure: This post may contain affiliate links. If you use these links to buy something we may earn a commission at not additional cost to you. Learn more.
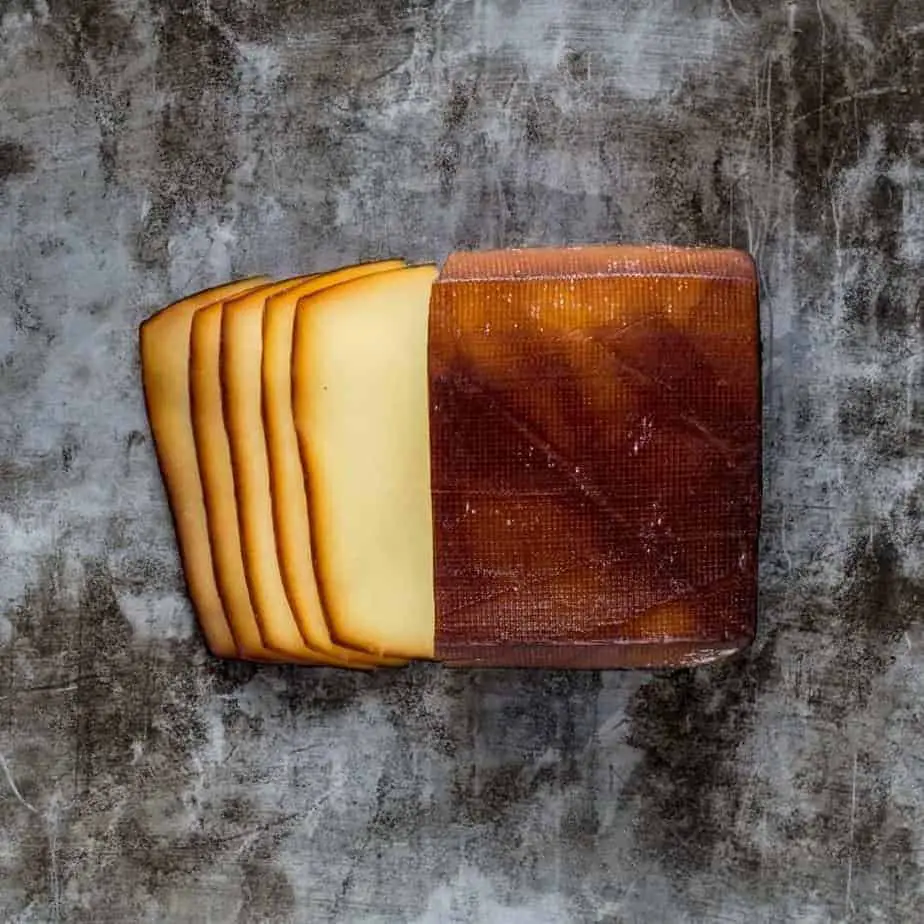
Getting the perfect smoked cheese from your electric smoker may take trial and error, but this step-by-step guide can make getting it right on the first try that much easier. Here are the 8 steps you should follow.
1. Pick A Cheese To Smoke
First and foremost, you’ll need to pick a cheese or two that you want to smoke. Really any kind of cheese can be smoked, however there are some cheeses that are the most popular and will also be easiest for beginners. These cheeses have been listed below.
Best Cheeses for Smoking
- Cheddar
- Gouda
- Pepper Jack
- Hard Mozzarella
- Munster
Preparing the cheese
If the blocks of cheese are too big they may not smoke evenly, so you may need to cut them into smaller pieces. On the flip side, pieces that are too small can easily be over smoked and will have a bad flavor. Try to keep the blocks of cheese about 1 inch thick. Most Pitmasters say this is the best size for smoking cheese.
2. Pick A Wood For Smoking
Best wood shape
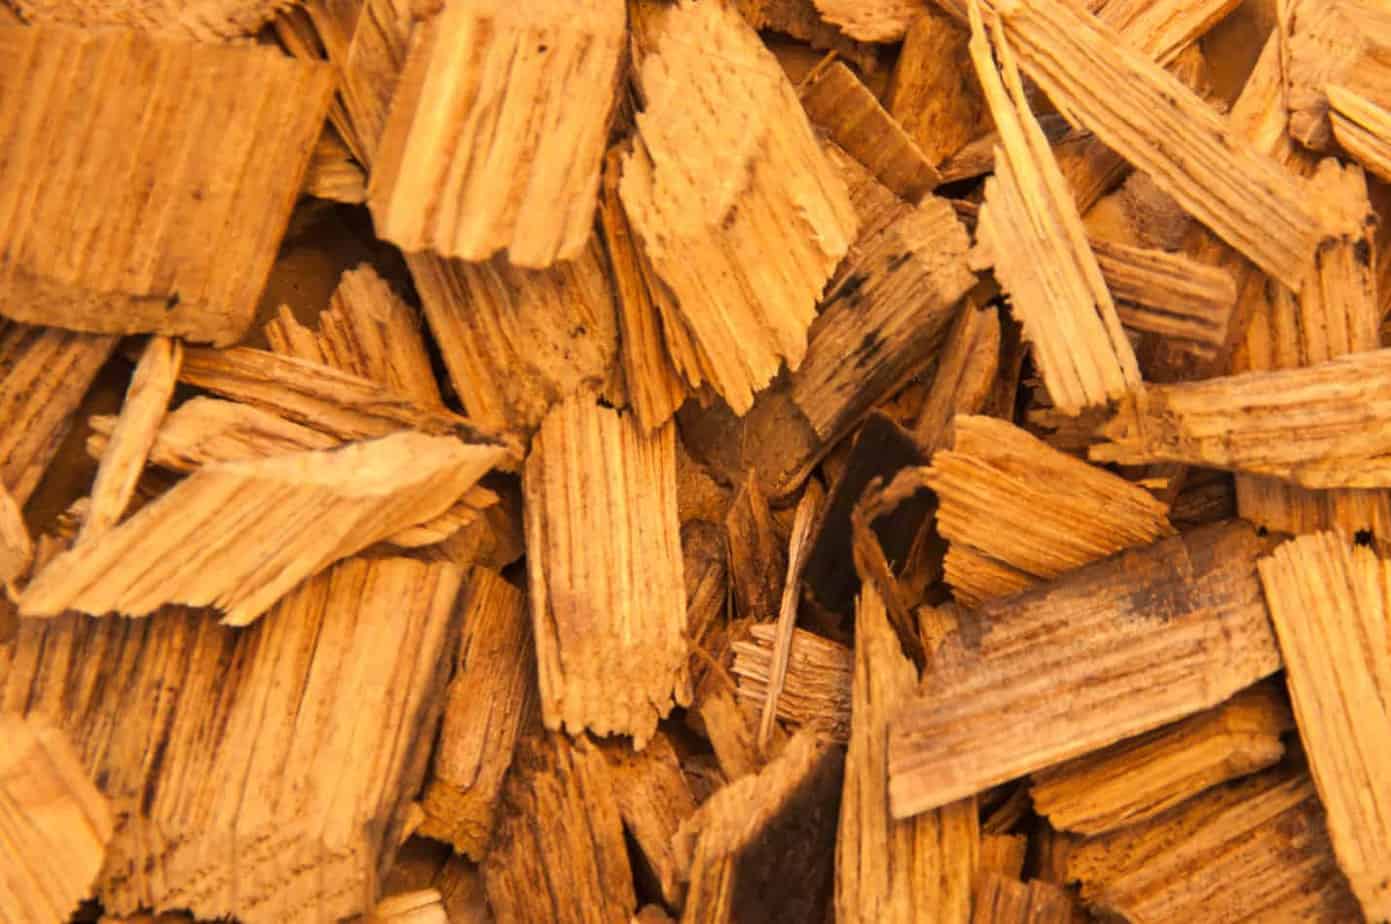
The shape of the wood will determine how much smoke is produced and since cheese requires very little smoke, you should avoid using large chunks of wood, which are better for smoking meats. You’ll be better off using wood pellets or chips to smoke your cheese, since these will burn faster and produce less smoke.
Best woods for cheese
These four woods have been tried and proven to give cheese a great smoky flavor.
- Apple – for a mild, sweet and slightly fruity flavor
- Hickory – strong smoky flavor
- Maple – strong and sweet flavor
- Oak – similar to hickory, but less intense
- Cherry – Sweet and fruity flavor
- Pecan – Mild and nutty flavor
Good wood pairings
It’s also common among Pitmasters to mix woods to get the perfect flavors. Below are some wood pairings that have been tried and proven delicious.
- Hickory and Oak
- Apple and Cherry
- Apple and Hickory
- Cherry and Maple
- Cherry and Oak
3. Clean Your Smoker
Before you start smoking anything you should clean your smoker, for sanitary reasons and for the sake of good-tasting cheese. A regular cleaning should include:
- Removing the grates and scrubbing them
- Removing the water and chip pans and disposing of old ash
- Wiping down the sides, top and bottom
- Wiping down the outside
- Greasing the grates with some vegetable oil to prevent food from sticking
If this is your first time using a new smoker then you should season it. This is a fairly simple process, but it will help with the longevity of your smoker and it will help give all your future smoked meals a better flavor. To season your electric smoker, just follow these 6 steps.
- Gently wipe down the inside of the smoker with a mild soap.
- Coat the inside with a cooking oil, whether it be with a spray or by using a rag.
- Heat the smoker to 250 F and set the timer to 3 hours.
- When there’s only 45 minutes left add a small handful of wood chips into the chip pan.
- Leave the smoker alone till the 3 hours are up.
- After the 3 hours, turn the smoker off and you’re done.
4. Set Temperature Of Smoker
Once you have your wood and cheese, and your smoker is clean, then you’re ready to begin the smoking process. The best day to smoke is on a cool day, especially when smoking cheese, since you won’t want the interior of the smoker to get above 60 F or your cheese may melt.
That being said you should set the temperature of your smoker to 60 F and no higher, then leave your smoker to preheat. If your smoker is not capable of cold smoking then it will not work for smoking cheese.
5. Build A Smoke
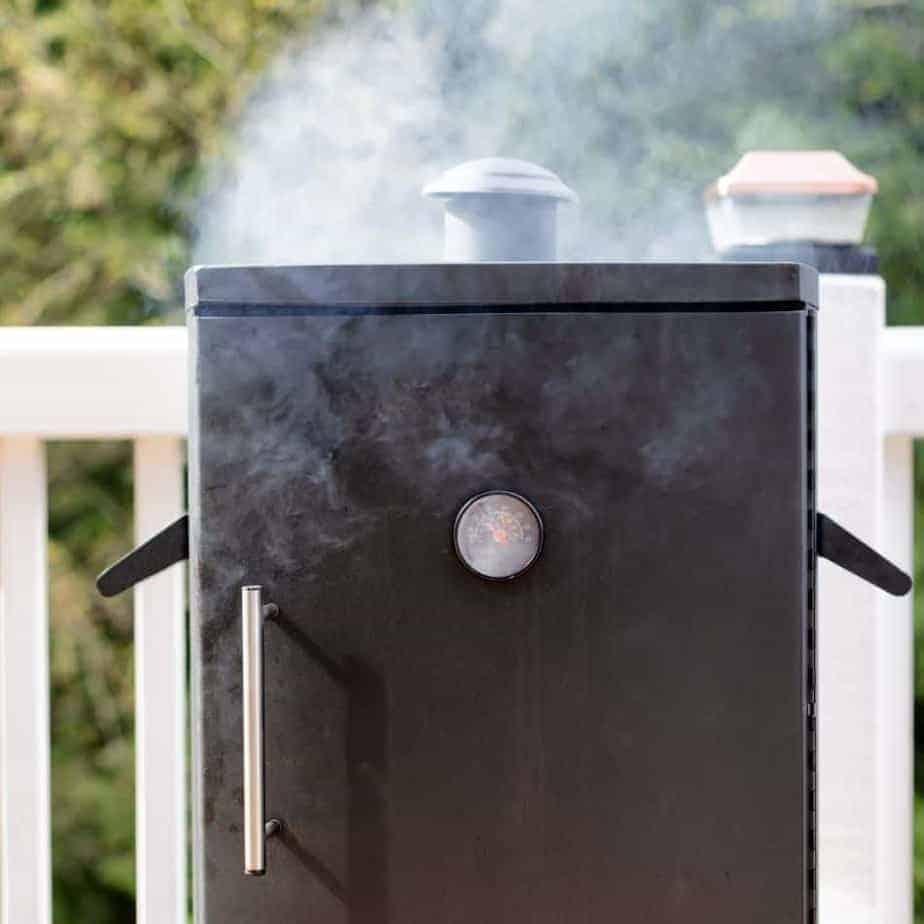
Once the smoker is heated, you can start step 4. Your electric smoker should come with a water pan and a small chip pan. Fill the water pan with hot water. This will help to maintain the temperature of the smoker. Fill the chip pan with 1 cup of chips or pellets. This will create a smoke that lasts about 3 – 4 hours, which is the more than enough time for smoking cheese.
Light the wood so the a small fire catches. The flame should extinguish and a smoke should start. Make sure this happens before you close and lock the door.
6. Put Cheese In Smoker
When you fill the water pan and chip pan, you should also put the cheese in the smoker. Space the cheese blocks on the lowest grate in the smoker, while also trying to avoid putting the cheese over where the smoke will rise. To get an even taste in each piece of cheese, it’s important that they are not touching each other and that their is space for airflow around each surface of the cheese blocks.
7. Take Cheese Out
Cheese will absorb the smoke quite easily so you shouldn’t need to keep it in the smoker for very long. Anywhere from 1 hour to 2 will be a good amount of time. 2 hours in the smoker will give your cheese a strong smoke flavor, so if you like a lighter smoke flavor aim for 1 hour. Once you feel the cheese has been in there for a sufficient amount of time, you can go ahead and take the cheese out.
8. Store Cheese
Immediately out of the smoker the cheese is going to taste extremely smoky. That’s why you aren’t going to eat immediately after it comes out of the smoker. Instead you should wrap it in parchment paper and put it in the fride for 48 hours.
After 48 hours, take the cheese out of the paper and put in zip lock bag/s. Get all the air out, seal the bag/s up and put the cheese in the fridge for 2 weeks. 2 weeks may seem like a long time and it can be easy to get impatient, but during these two weeks, the smoky flavor with distribute throughout the cheese and mellow. After the 2 weeks are up your cheese will be ready to eat!


