Smoked, Cured, Aged And Dehydrated Meat: Learn The Difference
Disclosure: This post may contain affiliate links. If you use these links to buy something we may earn a commission at not additional cost to you. Learn more.
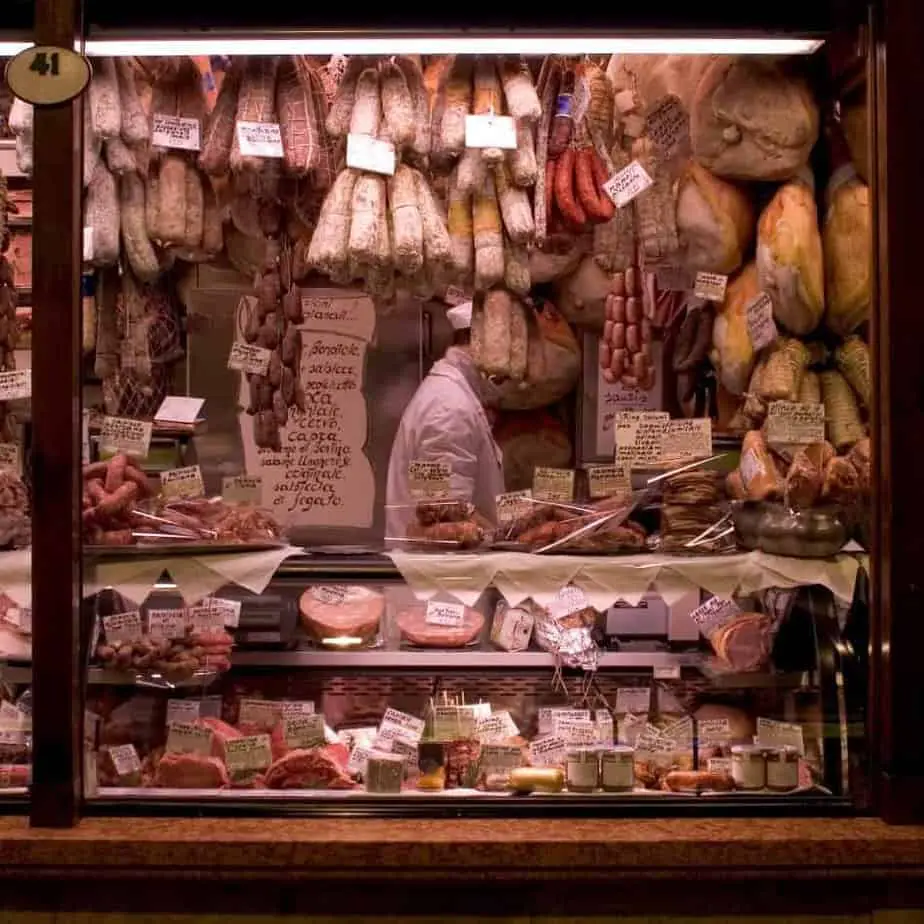
There are many ways to prepare meat, and each is unique and brings its own flavor profile to the meat. Some of the most common ways are smoked, cured, aged, and dehydrated meat.
But, what are the differences between smoked, cured, aged, and dehydrated meat? The differences are in the ingredients used to prepare them, the process of making the meat, and more.
If you aren’t sure which process you want to try first, fear not. I have all the details you’ll need to get started with smoking, curing, aging, and dehydrating meat. Once you figure out more about these different ways to prepare meat, you will want to make them all.
Learning the Differences Between Smoked, Cured, Aged, and Dehydrated Meat
When it comes to learning about the differences between smoked, cured, aged, and dehydrated meat, you should learn a bit about each one first. For instance:
- Cured meat: This involves injecting the meat with flavorings, water, potassium chloride, sodium phosphate, sodium erythorbate, sodium nitrate, sugar, and salt. The meat is then cooked to an internal temperature of 150 to 170 degrees Fahrenheit. The combination of the ingredients and the brine will kill off any bacteria.
- Aged meat: Aged meat doesn’t necessarily require a brine or smoking the meat. Meat is hung in a special room at exact humidity and temperature levels. The meat spends years, usually about 5 years, in that room and come out coated with crusted mold. It is then scraped and washed before it is eaten.
- Smoked meat: The proper way to smoke meat is through cold smoking. This is done at under 100 degrees to around 60 degrees Fahrenheit. It can be smoked for days or weeks. Since the temperature is low, bacteria are controlled through the chemicals used in the drying process. Generally, this is done with a salt brine.
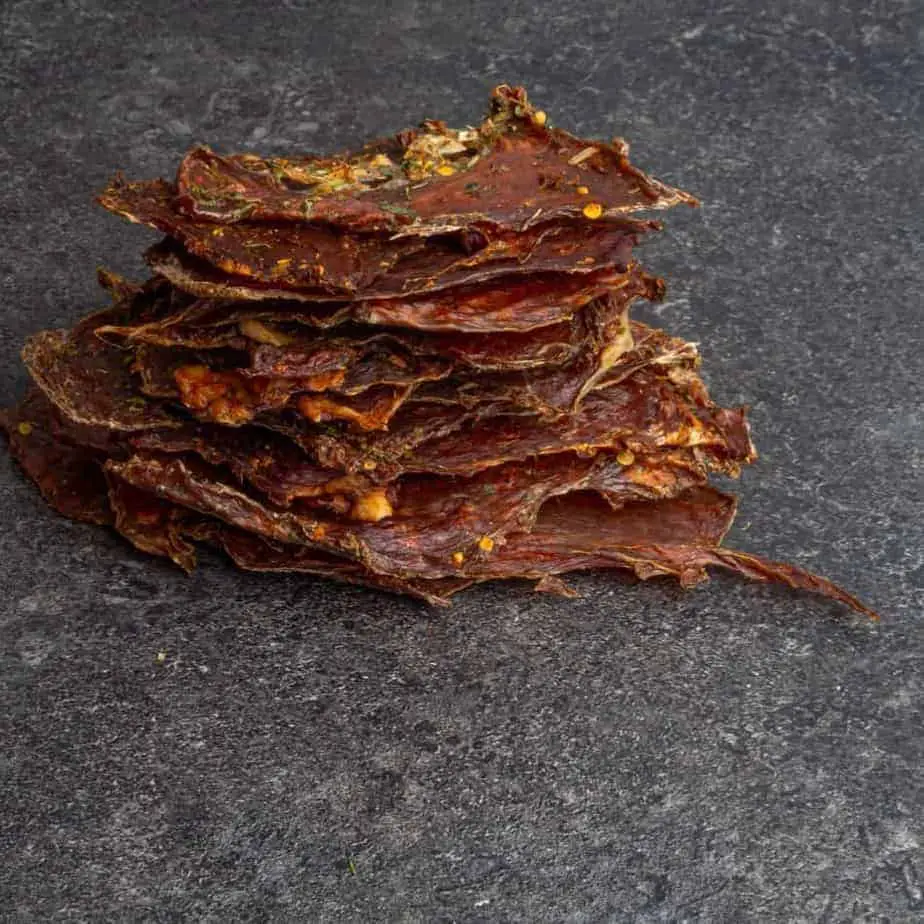
- Dehydrated meat: Dehydrating is a great way to preserve meat. Dehydrated meats can be eaten as they are, generally, in jerky form. They can also be heated back up with water to add some hydration to them.
This is the main information you need to know about smoked, cured, aged, and dehydrated meat. Now that you know about the basics, it is time to learn more in-depth about each of these meat methods.
Everything You Need to Know About Smoked Meat
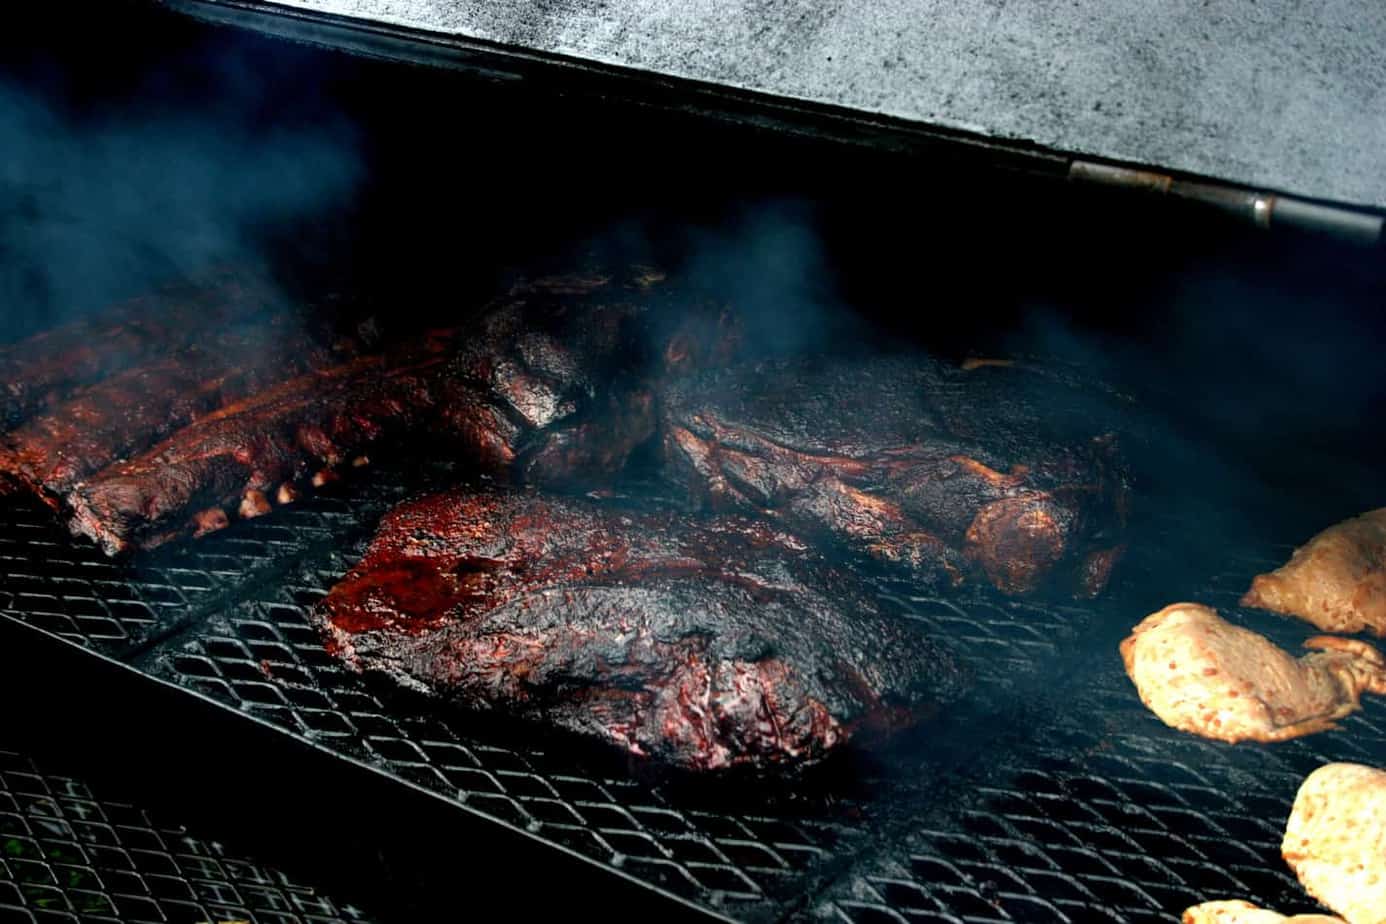
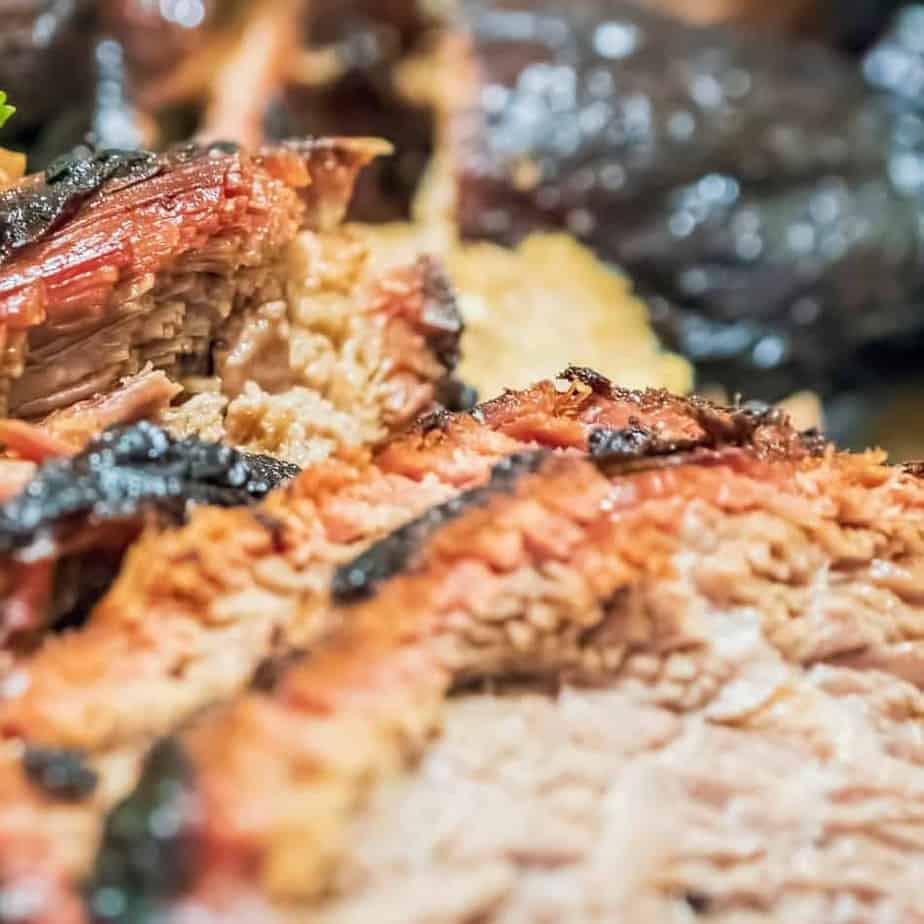
According to The Manual, smoking meat is a science and an art. However, there are many different styles, processes, and other ways to smoke meat.
History of Smoking Meat
Smoking meat started before there were refrigerators as a way to preserve food. Through many years of trial and error, people have continued smoking food with different techniques.
Types of Smokers
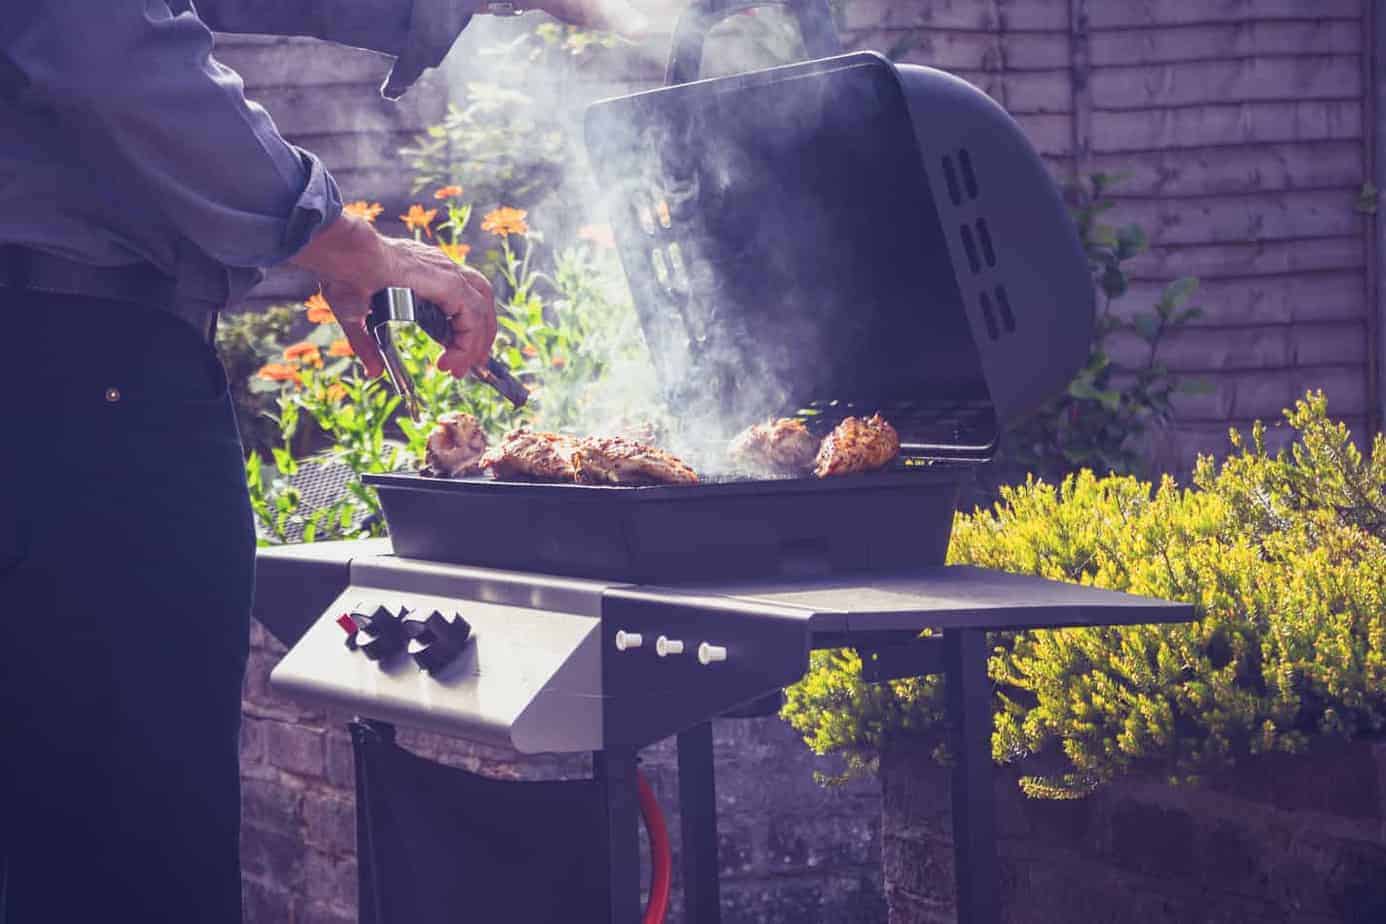
There are different types of smokers that can be used. These include the following:
- Electric smokers: These use electricity to heat the rod, which causes wood to smoke. Easiest to use in terms of heating up the smoker. However, they are the most expensive, as well. They also have the least smoked flavor compared to other smokers.
- Propane smokers: Work similar to electric smokers, but they have a gas-flame. If the electricity in your area is a bit scarce or expensive, this may be a better option.
- Charcoal smokers: Many people believe charcoal provides more flavor than electric or propane-fueled smokers. Charcoal is cheaper. However, you have to keep the fire going to make it work.
- Wood smokers: These give the best-smoked flavor, but you have to pay close attention to them the entire process in order to keep them at the right temperature.
- Pellet smokers: These are like wood smokers but in pellet form. They are easier to use than wood smokers. The downside is they can be more expensive to run than wood smokers.
Now that you know more about the different kinds of smokers, you may want to know a bit about the best types of meats you could smoke.
Best Meats You Can Smoke
There are some things you should know about the best meats to smoke. These things include the following:
- Pick a piece of meat that will benefit from slow-cooking
- Get pieces of meat that have lots of connective tissue
- Beef-brisket is a favorite and so are ribs
- Pork shoulder is another great meat to smoke
- Some other lesser-known meats to smoke are chuck-eye, tri-tip, and steak
Now that you know more about the types of meat you could smoke, you may want to know what wood you would need for smoking meat (if the wood is being used).
Types of Wood to Use When Smoking Meat
There are many types of wood that can be used when smoking meat. These include the following:
- Alder: Light, naturally sweet flavor. Great for smoking white meat, poultry, and fish.
- Applewood: Sweet and fruity smoked flavor. Great for smoking poultry, fish, and pork.
- Hickory: Distinct, strong flavor. Great for smoking red meat, ribs especially.
- Pecan: Fruity flavor. Great for smoking pork roast or brisket, but also great with poultry, fish, and pork chops.
- Maple: Delicate and sweet taste. Great when mixing with applewood, oak, or alder and used for smoking ham and poultry.
- Mesquite: Pungent flavor. Great when smoking smaller cuts of meat.
- Oak: Subtle flavor. Great for smoking bigger cuts of meat.
- Cherrywood: Great when mixing with oak, hickory, or alder and when smoking pork and red meat.
Now that you know more about the types of wood to use when smoking meat, you should learn a bit more about the importance of brining.
Brining and the Importance of It
There are quite a few things you need to know about the importance of brining. Some of these things include the following:
- Brining keeps your meat from drying out when smoking it
- Salt in your brine makes the meat proteins more water-absorbent
- Meat should be in brine for 10 to 12 hours before you smoke it
- Brining helps meat keep moisture while making it saltier
With this information about brining, there is one last thing you may want to know about smoked meat.
Low and Slow is the Key
The key to great smoked meat is to keep things going low and slow. The things you need to know about this include the following:
- The temperature should be kept between 212 and 230 degrees Fahrenheit
- These temperatures keep the nutrients in the meat and keep it succulent
- Smoking the meat slowly lets the tough tissues dissolve while allowing the smoke the time it needs to absorb
You have now learned the other information you need to know about smoked meat. With these things being said, now it is time to learn more about cured meat.

Everything You Need to Know About Cured Meat
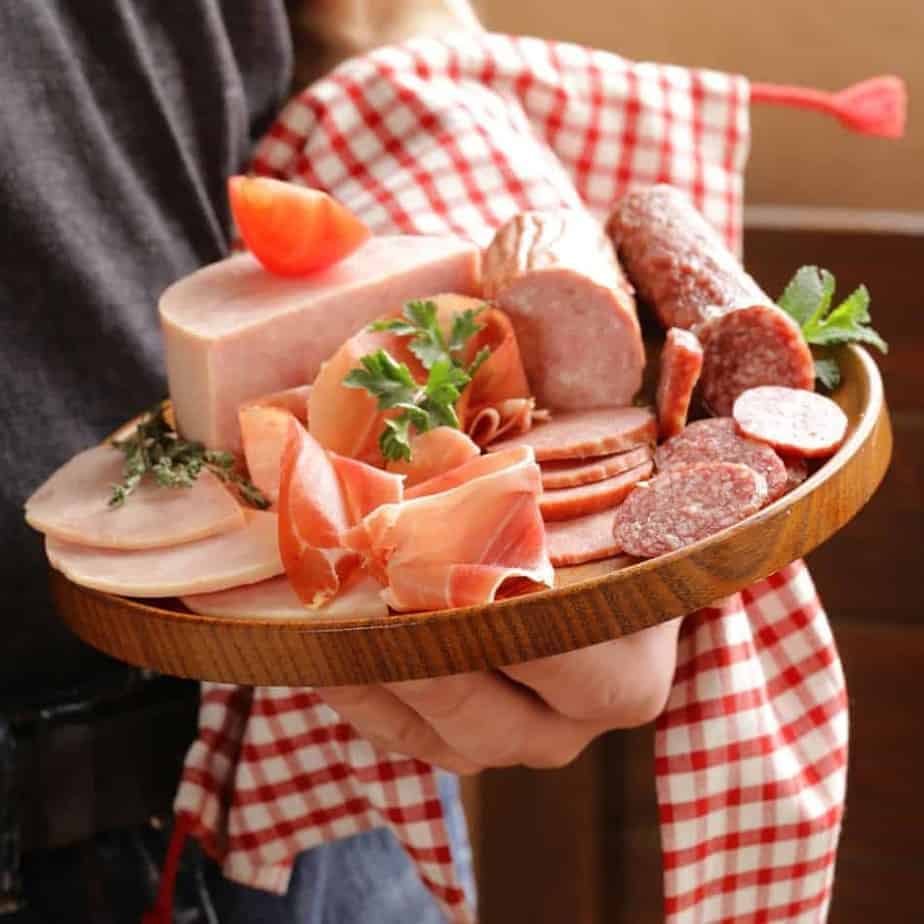
According to Teys Australia, cured meat is meat that has gotten preserved through smoking, brining, salting, canning, drying, or aging. The purpose of curing meat is to prevent the growth of microorganisms and slow down spoilage, as well. Curing meat has been done since ancient times. Cured pork or cured bacon is one of the most common cured meats to this day.
Essential Ingredients Needed for Curing Meat
There are some essential ingredients needed for curing meat. These ingredients include the following:
- Meat: Fish, poultry, lamb, veal, pork, and beef can be used when curing meat.
- Salt: Salt is the most essential ingredient needed when curing meat. It takes the water from the meat and kills microorganisms.
- Sugar: This isn’t required. However, it is often added to combat the flavor of salt.
- Nitrates and Nitrites: Purchased in curing mixes with added salt. These help to kill the bacteria and add a nice coloring to the meat. These should be used sparingly and carefully.
Now that you know more about the essential ingredients needed for curing meat, it might be helpful to know more about the common methods of curing, as well.
Common Curing Methods
There are different kinds of meat curing methods that you may want to know about. These include the following:
- Dry curing: Often used when curing bacon, ham, or smaller pieces of meat. The curing mix is applied right on the meat, sealing it, and refrigerating it while curing the meat. Excess salt is taken off after the curing process, through rinsing your meat. Then, meat is cooked before it is eaten.
- Wet curing: Combining water and salt to create a solution. Meat gets soaked into this solution, or the solution is injected in it. The process is done in the refrigerator, and cured meat must be cooked before eaten.
- Combination curing: Combining dry and wet curing. Used often for curing hams. Combination curing shortens curing time and reduces the risk for spoilage. Curing is done in the refrigerator and needs to be cooked afterward.
Now that you know more about the meat curing processes, you may be wondering whether it is safe to cure meat.
Safety of Curing Meat
There is a risk involved in any type of curing process or food preservation process. However, when meat curing is done properly, it is safe to eat it.
Now that you know all about curing meat, you may want to learn more about aged meat, too.
Everything You Need to Know About Aged Meat
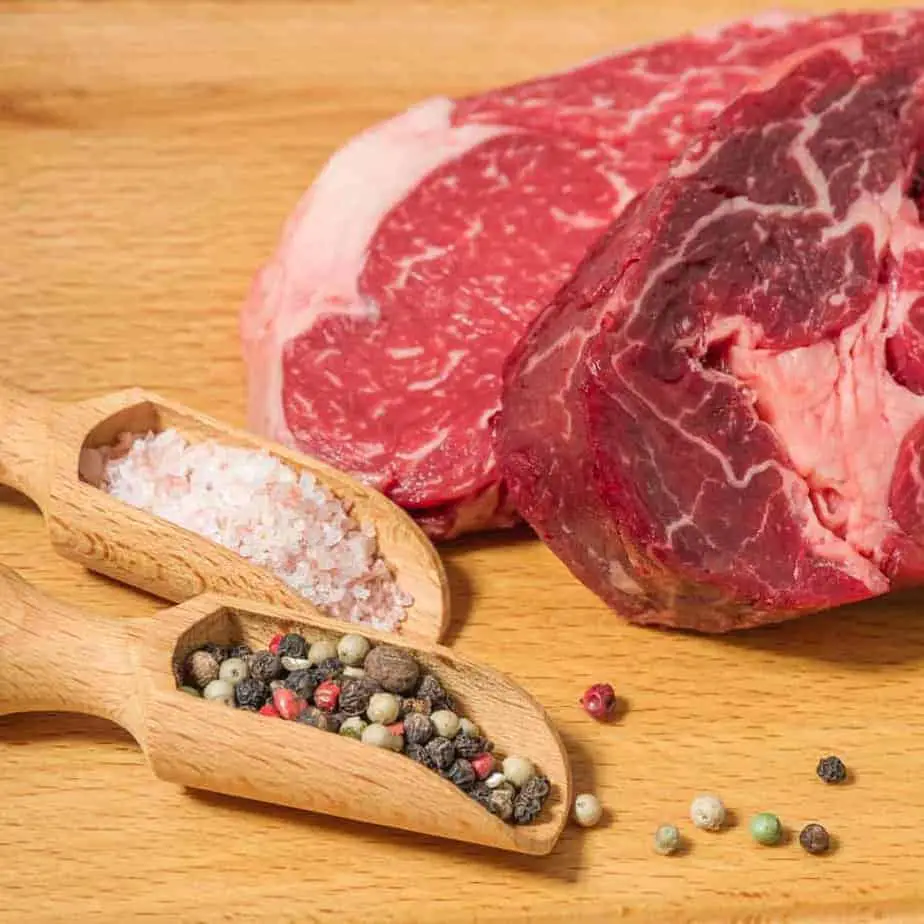
According to The Art of Manliness, many people don’t order dry-aged meat because they don’t know exactly what that means. Basically, this type of meat is aged before it is eaten. Some meats are aged from 7 to 120 days. It is common for a steak to age for 30 days before it is eaten.
The meat isn’t going to spoil during this time because conditions keep it from doing so. During the process, moisture is brought out of the piece of meat. This adds more flavor to the meat and makes it more tender, as well.
It will grow fungus crust, but that is scraped off before it is cooked. The longer the meat is dry-aged, the more tender and flavorful it will be.
|
Days of Aging | Process Time Frame |
|
7 Days | Collagen starts breaking down, but no added flavor yet. Not sold as aged during this time frame. |
|
21 Days | Loses 10% of its weight. Water releases from back and front of meat. Meat shrinks and steak becomes more concave. The fat starts to darken. |
|
30 Days | Most common aged meat. Added texture, tenderness, and flavor. Lost 15% of total weight. |
|
45 Days | Starts having white striations from salt and mold. Lost fraction of weight. Added flavor to the fat. |
|
90 Days | More white crust which protects the meat. Shaved off before meat gets sold. |
|
120 Days | Lost 35% of the weight. Has funky flavor and expensive |
If you are going to buy this type of meat from your local or any other grocery store, you should make it that same day. Letting it sit will alter the dry-aging process, and it may go to waste.
The Expense of the Aged Meats
It is known that aged meats are more expensive than other meats. The main reason for this is because it takes quite the process to get the meat to the proper state. Special refrigerators and temperatures are needed to make this happen.
Home Dry-Aged Meat
Many people, after learning about aged meat, want to know if they can make it at their home. You can, but there is a lot of work involved in doing it. You can look up guides on exactly how to dry-age meat in your home.
If this is something you are looking into, remember it takes special temperatures and other things before you can truly dry-age meat in your home. If you don’t have the right equipment, you won’t be able to dry-age meat by yourself. A regular refrigerator isn’t going to work.
Now that you have learned all about aged meat, you may want to know more about the dehydrated meat and how it is made.
Everything You Need to Know About Dehydrated Meat
According to Backpacking Chef, there are many different tricks that can be used for dehydrated meat that improve the tenderness of the meat.
Keeping Dehydrated Meat
The great news is that dehydrated meats can last for many years when preserved properly. In fact, they can be kept in a freezer if they are vacuum sealed properly. If you are going to eat them in under 1 year, you won’t need to freeze them.
Only lean meats should be dried. Excess oil should be blotted off while it is being dried. The fat is what will make it turn rancid. Generally, you can keep dehydrated meat in a cupboard.
If you are going to store your dehydrated meats for 2 weeks, you can put them into tight-fitted jars or zip-style bags.
If you are going to use in over a month, you will definitely want to vacuum seal the dehydrated meats.
When you have frozen dehydrated meat, let it get back to room temperature before you open it. This will prevent condensation from getting on your food.
Ground Beef Dehydration
Many backpackers will call dehydrated ground beef their gravel. This is because it does rehydrate very well. You can fix this issue by putting bread crumbs in your meat before you cook it. The bread crumbs let more of the liquid get through to the meat when it is rehydrated, so it becomes more tender.
The only type of ground beef that should be dehydrated is lean or extra lean meat with 7 to 15% fat range. This is often called ground round beef. Hamburger or chuck is often too high in fat content. Grass-fed beef is usually an alright choice.
Some fat is removed when it is cooked. Some fat moves to the surface when it is drying. You can blot the fat after it is cooked and a few times when it is drying. Using the low-fat beef will reduce the risk of it spoiling when it finally dries.
Process of Dehydrating Ground Beef
For every pound of beef, you should put ½ cup of bread crumbs on the meat. Work these crumbs into the meat. You can make your own bread crumbs by dehydrating bread for a few hours and grinding it up afterward.
Break up your meat into smaller pieces and cook them in your frying pan on medium-high until browned and cooked fully. Stir continuously. Take the meat off the heat and push between 2 paper towels. This gets some of the moisture out of the meat.
Put your ground beef into the dehydrator trays. You can lay parchment paper down first to stop the ground beef from falling through the holes in your trays.
Then, you will dry the meat at 145 degrees Fahrenheit for about 6 hours. It will harden when it is dried.
1 or 2 times during your drying process, move your meat around. Squeeze it a couple of times with a paper towel, as well, to get some of the oil off from it.
TIP: If you are going to keep the dehydrated ground beef for more than 1 year, don’t use the bread crumbs. They retain some fat from your meat.
Now that you know how to dehydrate ground beef, you may want to know how to dehydrate sliced ham.
Sliced Ham Dehydration
You should always use lean precooked ham. The fat content should be under 10%. Some great ham for dehydrating is deli ham that is about 1/16 inch thick. You can also use sliced turkey or roast beef.
Process of Dehydrating Sliced Ham
You will cut the ham into ¾ to 1 inch wide strips. Put them on your dehydrator trays.
Then, you will dry them at 145 degrees Fahrenheit. Do this for around 6 hours.
You can blot the oil that forms on the ham with paper towels a few times throughout the drying process.
When your meat dries fully, break it up into smaller pieces, so it can be used in various recipes.
NOTE: You should know that dehydrated ham does stay a little chewy, but makes for a great addition to various recipes.
Now that you know how to dehydrate sliced ham, you may want to know how to dehydrate shrimp.
Shrimp Dehydration
If you want to save yourself some time, you should buy medium, peeled, precooked, and frozen shrimp. Smaller shrimp isn’t the best for dehydration. You can use larger shrimp, but it doesn’t dehydrate as well.
Process for Dehydrating Shrimp
You will start by thawing out your shrimp in ice-cold water or the refrigerator. You will then take the tails off and rinse them.
Cut each piece of shrimp up into 4 or 5 pieces. Put them into one layer on the tray of your dehydrator.
You will dehydrate the shrimp at 145 degrees Fahrenheit for about 6 hours until they harden.
You shouldn’t have any moisture left when you cut one of the pieces in half.
Now that you know how to dehydrate shrimp, you may want to know how to dehydrate tuna.
Tuna Dehydration
When you are dehydrating tuna, you should buy the kind that is solid white and packed in water. The fatter types of tuna or the tuna that has been packaged in oil might spoil.
Process of Dehydrating Tuna
You start by draining the water out of the tuna.
Then, you will break up the tuna into little pieces and put them into one layer on the tray of your dehydrator.
Using parchment paper can stop the little crumbs from going through the holes of your trays.
You will dehydrate the tuna at 145 degrees Fahrenheit for around 6 hours until it is crispy.
NOTE: Dehydrating tuna in your home will make the house a bit stinky.
Now that you know how to dehydrate tuna, you may want to know how to dehydrate imitation crab.
Imitation Crab Dehydration
You can get imitation crab in a refrigerated, not frozen, vacuum packaged container.
Process of Dehydrating Imitation Crab
First, you will pull the meat into smaller pieces.
You will then dry it at 145 degrees Fahrenheit for about 6 hours until it hardens.
NOTE: This type of meat rehydrates very well when put into meals.
Now that you know a bit more about dehydrated meat, you may be wondering which type of meat (smoked, cured, aged, or dehydrated) is the safest to eat.
Which is the Safest to Eat?
Many people want to know what the safest meat to eat is. Is it smoked, cured, aged, or dehydrated meat?
There is not just one exact answer for this. It is important to note that all these types of meat are safe to eat. It just depends on various factors, such as the following:
- If the person preparing the food has experience in that specific method
- How long the meat is kept for
- Is the meat kept in the proper storage
- What type of meat is being used for that specific method
These are some of the variations to how well the meat will taste and whether it will be good or not.
As mentioned above, certain meats have to be cooked and prepared in specific ways, or they will spoil. This especially goes for the aged and dehydrated meat. The smoked and cured meat doesn’t have to be as specific as the others.
If you are wondering what type of meat you should get, most often you will find smoked, cured, and dehydrated meat. Most people love to eat smoked fish and cured ham. They also love jerky. You won’t find aged meats as often because the process is very specific and requires particular equipment and temperatures to make it just right without it spoiling.

Conclusion
Learning more about the different types of meats available can help you in many ways. Whether you are trying to make them yourself, learn which ones are the safest, or know what type of meat you can take on trips, the types of meat and how they made can make all the difference.
You have learned all about smoked meat, how it is made, and the ingredients needed to make it. The same goes for the cured meat and the process of making that type of meat, as well. You have learned what makes aged meat so difficult to find and why it is so expensive. You have also learned about dehydrated meat and the various types of meat that can be dehydrated.
If you are thinking about making one or more of these types of meats on your own, now you have the information you need to make that happen.
If you are thinking about buying these types of meat, now you know more about what types of meat you can get and the process that has gone into them to make each one.
There are many different types of meat out there. Smoked, cured, aged, and dehydrated are just the most heard of meats. You can get them online, in-stores, and in restaurants. Just keep in mind, if you are looking for aged meat, it can’t be found in many restaurants. Since it requires a more specific process, not many places will make or sell it.
With all this information, hopefully, you now know what the differences are between smoked, cured, aged, and dehydrated meat.


