6 Tips for Taking Smoked Brisket from Average to Amazing
Disclosure: This post may contain affiliate links. If you use these links to buy something we may earn a commission at not additional cost to you. Learn more.
Smoking brisket can be a very disappointing or very rewarding experience. Both in my experience, as well as research I have done, I’ve discovered some things that can help push a brisket from just an average cut of meat to an amazing meal you’d want to serve to all your friends and family.
What are the best tips for taking smoked brisket from average to amazing? The basics are:
- Select quality meat
- Preparation
- Use a Brine
- Use a Wood that Complements Brisket
- Let the meat rest after you take it away from the heat
- Cut the meat against the grain
Taking the time throughout the entire process can ensure your brisket is cooked well, bursting with flavor, and is tender and juicy.
Many of the following tips need time, and it can actually take up to a week to make the most amazing smoked brisket. If you follow my suggestions, I can show you the best possible way to take a brisket from average to amazing and give your family a meal they won’t soon forget.
Select or Prime, the Choice is Yours
Getting the best possible brisket starts well before you begin to cook it. It all starts in the store or maybe even with researching the best local butcher, depending on your quality requirements and how much you want to spend to increase your chances of an incredible brisket.
There are actually five different grades for brisket, but the last two I would only recommend if you plan to enter a competition. Your final decision may depend on who you plan to feed it to, and if you think you can make money from it. The five grades are:
- Select
- Choice
- Prime
- Waygu
- CAB Certified
If you are just looking for a fantastic cut of meat for home cooking, I would recommend either Choice or Prime grades. While the Prime is technically higher quality meat, both are generally very similar.
Grades like Waygu, which comes from a Japanese cow or a Japanese/American hybrid, and CAB Certified grades, can both be incredibly expensive cuts of beef. In my opinion, they’re too expensive for your average backyard barbecue as they can run well over $100 for a single packer brisket.
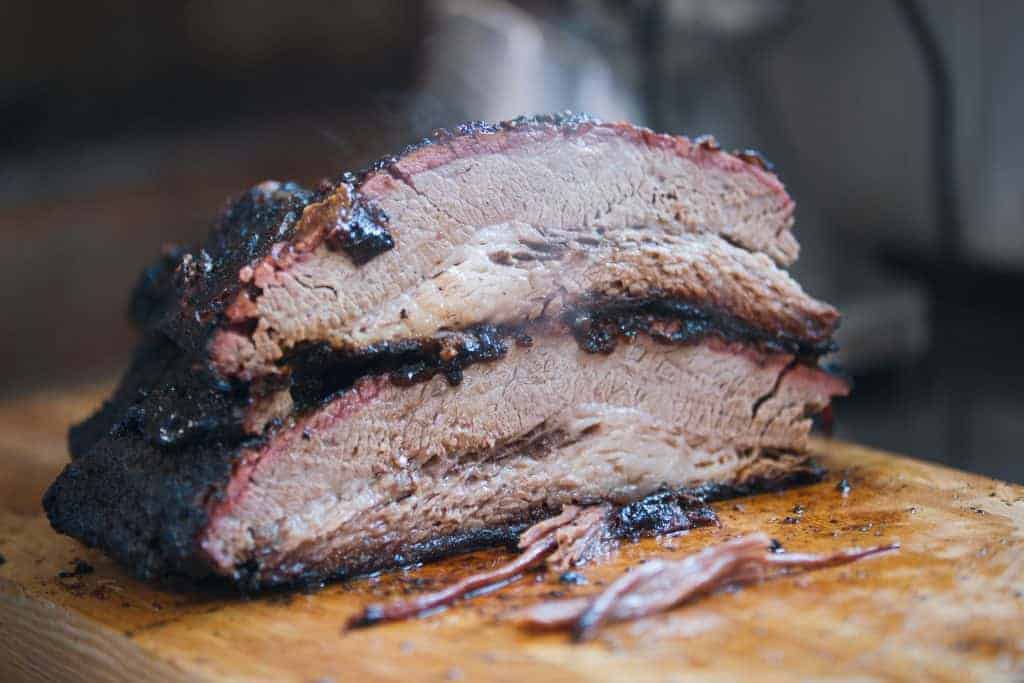
You also want to look for marbling throughout the brisket. Marbling refers to the layers of fat running throughout the meat fibers (not the fat caps), which will help prevent the brisket from drying out during the long cooking process.
If you can, try to avoid previously frozen meat. Freezing raw meat can affect its texture and tenderness.
As long as it isn’t on a styrofoam back, checking the flexibility of it will tell you if it’s been frozen or not. Stiff meat has either been frozen or the fat marbling is too thick. Neither of which is ideal for producing the best end product possible.
It’s All in the Prep
When it comes to preparing the brisket, there are a few different things to keep in mind. You are not just preparing your meat for cooking, but preparing it for preparing it, which probably doesn’t make much sense, but let me try to explain a bit more.
Part of the preparation process will be the brine, which is a suggested step for any meat that will be cooked for a long time or meats that have a tendency to dry out. I always try to brine my turkeys before cooking to help keep it moist throughout the cook, and it can make a huge difference.
Before we can even begin to consider the brining process, we need to prepare the meat. Here is what you’ll need to do:
- Trim the Fat Cap: This means cleaning it up and make sure that the “fat cap” or layer of fat on top of the brisket, is no more than a 1⁄4 inch thick. If it’s too thin, it won’t provide enough protection from the heat source and increase the risk of drying the meat out. If it’s too thick, it will provide too much insulation and prevent even cooking. Don’t worry too much about getting it perfect, close is good enough in this case.
- Remove the Silverskin: On the underside of the meat, there may be a silver skin, which should be removed since it can be too chewy. Use a knife to pry up the edge of the silver skin and then grab it using either your fingers or a paper towel if your fingers can’t get a good grip. Just pull slowly down and away to remove. You may need to pull it off in sections if it breaks.
- (Optional) Cut the Brisket into Pieces): To help cut the cooking time down, you can cut your brisket down into two pieces, which will help it to cook faster. It’s almost always better to cook it as one whole piece if time allows.
Brine the Meat! No Really, Brine the Meat
Brining is a secret I learned about ten or so years ago. It is a way to infuse the meat with additional flavor, and helps to keep the meat as moist as possible, especially when it comes to long cooking times.
How Brining Brisket Works
Probably the best way to explain how a brine works is to think of the meat like a sponge. The salt in the brine will draw all of the moisture and liquid out of the meat, kind of like squeezing a sponge. But if you let go of the sponge while it is underwater, it will also draw in the liquid that it is soaking in as well, allowing you to add some deep flavor into it too.
Using a brine will not make for salty meat though, so feel free to play around with it to give you an extra flavor explosion.
When it comes to the flavors you want to add using a brine, well, the sky’s the limit. As long as the added flavoring is water-soluble, it will work in a brine. Some of the ingredients I have used are:
- Orange juice
- Apple juice
- Sugar
- Liquid smoke
- Maple syrup
- Real vanilla extract
- Worcestershire sauce
You can also use a variety of herbs and spices to help bolster the favor of the meat.
The major upside to brining before smoking is not just the opportunity to add extra flavor into your meat but also to lock in extra moisture to the final product.
An Easy Brine Recipe
A brine can be as simple or complex as you would like to make it and experimenting with brines is a sure way to add variation to your briskets.
For an easy brine, you will need the following ingredients:
- 2 quarts hot water
- 2 quarts cold water
- ½ cup of salt
- 1 cup of sugar (can mix granulated and brown sugar)
- The herbs, spices, and flavors of your choice
I find a cooler dedicated to soaking meat in works really well for submerging large pieces of meat in a brine, especially one that has a drain on it. A cooler has the added benefit of helping to keep the meat cold during the brining process. This is where you would have the chance to add in any extra flavors of your choice.
Depending on what you are adding, if it needs to be dissolved or not, you can either add it directly to the container you use or to the heated mix. Add your cold liquids directly to the cooler. This would include any juices, extracts, and the like.
For anything that needs to be dissolved and any herbs or spices, you need to add it into your heated liquid.
If you follow these simple steps, your final product will be juicy and tasty, and you can keep the secret to yourself and make your whole family wonder how you got such a delicious and flavor-packed brisket.
- In a large saucepan, add your spices first. Put it over medium heat, and make sure to keep moving the pan. Be careful not to burn the spices, just toast them a bit to release the oils and aromatics inside of them. You will be able to tell when they are adequately toasted when you can really start to smell them.
- Add 2 quarts of water. Bring this up to a boil with the spices.
- Add in your solids. This would include things like salt and sugar. The hot water will help to dissolve them with a little agitation or stirring.
- Take the pan off of the heat. This is an excellent time to add in any herbs or syrups like maple syrup. Let the liquid cool to room temperature before adding to the container.
- Add the cooled liquid in with the 2 quarts cold water and a couple of pounds of ice. Gently mix everything up, but don’t stir too much, you don’t want to melt the ice.
- Add the meat to the brine. Your brisket should come directly from the fridge to the container that you have your brine in. You want it as cold as you can get it without freezing it. Carefully add the meat to the mix. You may need to weigh it down if it floats. I find using a clean brick wrapped in tin foil tends to work well for weight.
- Just let it soak in the brine solution for a minimum of 24 hours, but not more than five days. You want to give the meat a chance to soak up all the yummy goodness but don’t soak it for too long, which can have a negative effect on the final product.
- Once you have let the meat soak for a few days, you want to take the meat out and rinse off the outside of it. Get all of the spices and herbs that may be sticking to it and rinse off any brine solution left on the outside of the meat. Sugar, for example, could burn during the smoking process and that would ruin the flavor.
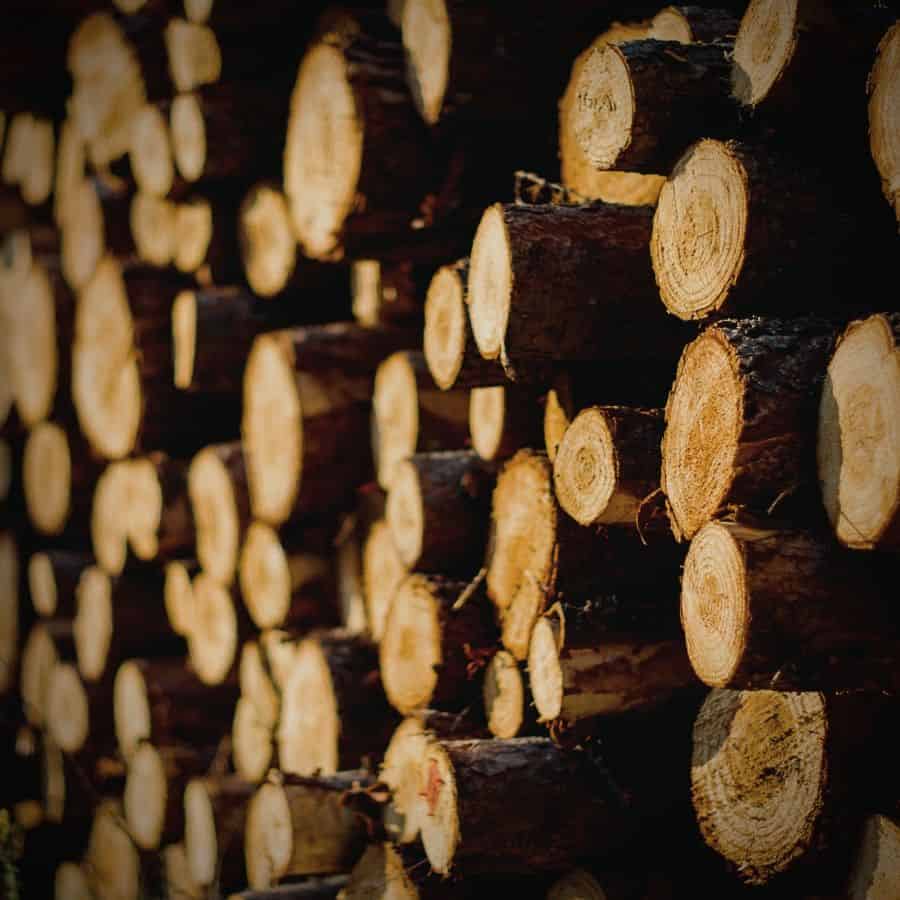
What Wood To Choose
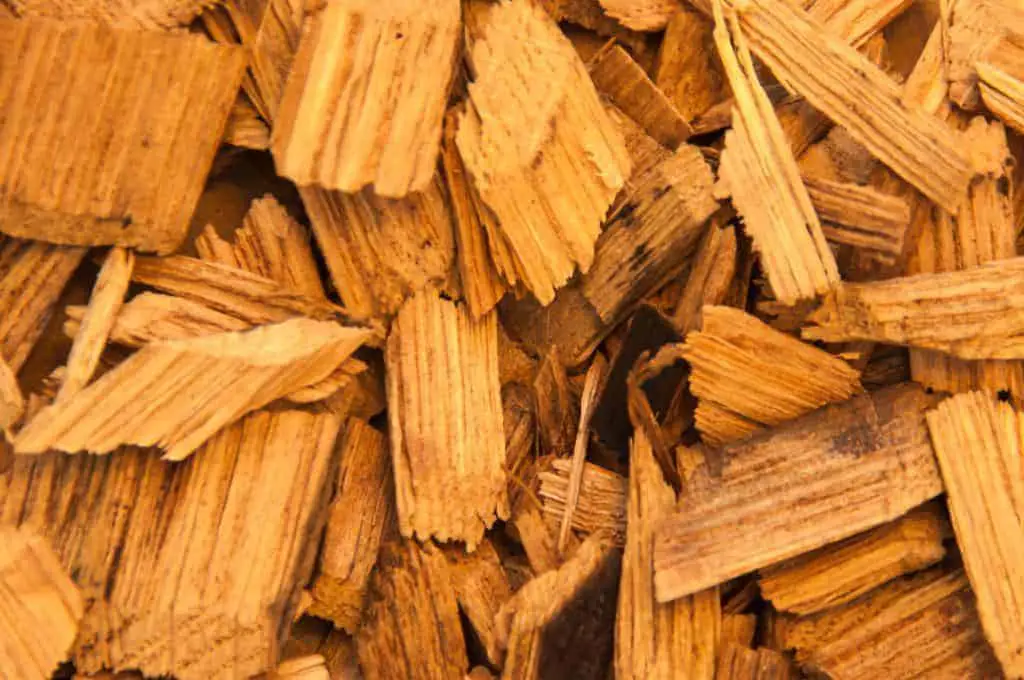
The wood or combination of woods that you ultimately decide on can make all the difference in the final product. When you opt for a brine beforehand, this allows you the option to give the meat a sweet flavor with the brine, but then use a more savory smoke on the outside.
But what woods taste best with brisket? Check out my guide on the best smoking wood for brisket to get some ideas on woods to try.
You don’t have to limit yourself to only using wood, you can mix in just a little bit of charcoal, especially to help you get the fire started, to give the outside just a hint of that charcoal smokiness as well.
Mix and matching woods can really bring a depth of flavor to the meat, and either part of your recipe can be tweaked to your own personal preferences. You can go sweet inside with a bit more savory outside or vice versa.
You could change the recipe depending on the time of year as well. While ham or turkey may be holiday traditions, who says new traditions are a bad thing? There is no limit to the different tastes that can be created between brine solutions and wood smoke.
If you decided you want to go with a variety of flavors for the wood, here are a few examples of how you could add some depth to the flavors:
- Start with charcoal until you have a decent fire going, then when you add the brisket to your grill or smoker, add some hickory wood chunks to the top of the charcoal. As the charcoal burns out and your wood starts burning more, add more hickory. Then transition to a more mellow flavor like applewood. Adding a 2 to 1 ratio of apple to hickory as it finishes for just a hint of apple flavor.
- Alternatively, you could start with kindling from hickory, and once you have a decent hickory fire going, you could then add in a bit mesquite to the mix. Once that has had a couple of hours to give the meat a good flavor, maybe add in some cherry or peach for just a mild hint of the fruity goodness without an overpowering sweet factor.
- Another option would be to start off sweet, maybe with Sugar Maple wood, possibly mixed with a bit of apple or cherry or even both. Then switch to hickory or mesquite to give it that more traditional savory flavor.
No matter how you decide to smoke it, go with flavors that appeal to you. Even the most famous chefs will cook, or barbecue, their food differently when it comes to home cooking. This is because they know what they and their family like and tend to lean more towards personal tastes instead of public consensus.
Internal Temperature
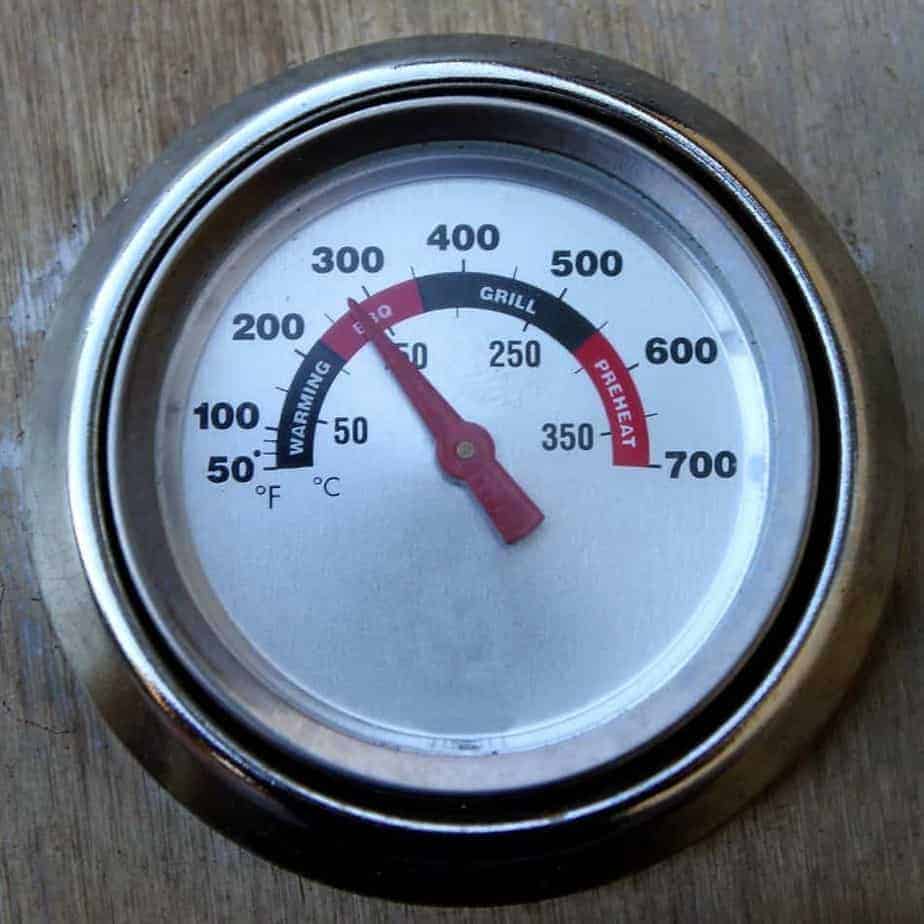
Depending on which smoked brisket expert you talk to you, you will find different recommendations for what the internal temperature of the brisket should be when you stop cooking it.
I find that a final internal temperature of between 195-203 is ideal (depending on if you want it sliced or pulled). Check out my complete guide on smoking times and temps to get a better idea of works best for each type of BBQ.
Also, keep in mind is that carry over will often raise the temperature as much as 10 degrees, so removing the brisket around 185 to 190 would be best to allow for that carryover. Basically, the internal meat will continue to cook for a few degrees once it has been removed from the heat, and this is normal for any piece of meat.
You can either smoke brisket low and slow or hot and fast. There is some debate on which is better, but I haven’t really tell too much of a difference in my tests. I still prefer low and slow just because that’s what I’m used to.
Let it Rest
The final step before the cutting of your meat is letting it rest, and this is where time becomes a huge factor. Time is one of those things that either work with you or against you.
Once you take your brisket out of the smoker, let it rest for about 10 to 15 minutes uncovered, then wrap in tin foil and set aside for about an hour, depending on the size of your brisket.
Let time work for you in this particular instance, and just let the meat rest.
Part of resting is that carry over I mentioned. For about 20 to 30 minutes after the brisket has been removed from the heat, it will continue to cook, so it is vital to let it rest.
Another reason for the resting period is that if you cut into the brisket immediately after removing from the heat it won’t have time to let the juices inside settle and it will cause all the work you put into getting a moist piece of meat pointless. It will look like it has plenty of juice inside, except you will end up with something quite dry, if cut too soon.
It Matters How You Slice it
How you cut your brisket can make a world of difference almost as much as the flavors you choose to use.
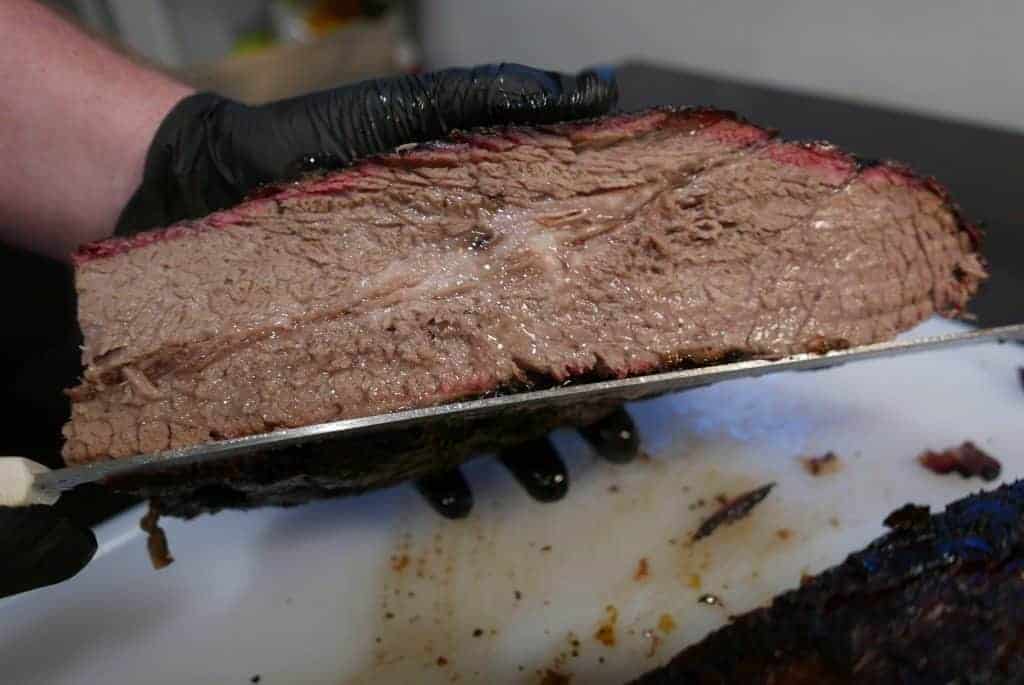
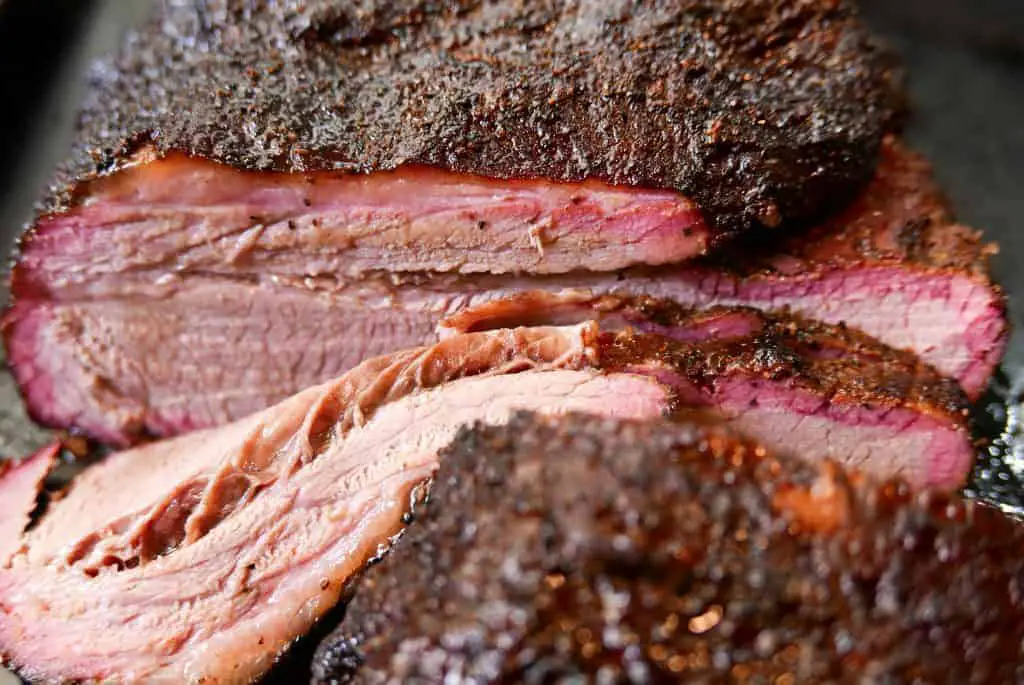
Brisket needs to be cut across the grain to achieve the best result. This helps to deliver a final product that is tender and melts in your mouth since the meat fibers are cut shorter. The slow cooking process has already broken down the connections between the fibers, cutting the meat against the grain will allow for the completion of the breakdown of the fibers.
One of the biggest mistakes that can be made, especially this late in the process, is cutting the meat the wrong way.
Each cut should be made against the grain and between ¼ inch and ½ inch thick. This makes for good eating both on the plate and as leftovers for sandwiches.
The Final Touch
A few final points to keep in mind:
Time is one of the major factors that you will put into the creation of your meat masterpiece. If you do not give each step the time needed, at best your meat will be tough and dry, at worst it will be inedible. Time is the main ingredient to bring a smoked brisket from average to amazing.
From brining to smoking, adding depth to the flavor journey is what it’s all about. Go with flavors that you enjoy and that seem to work well for your palate and that of your intended audience. Cooking can be a sort of performance, and the final product is what you want everyone to enjoy.
From the first cut to the last, you want to make sure that your depths are right and that the meat is cut against the grain to ensure tender meat that melts in your mouth.
For one final burst of flavor, during the last hour of cooking, you could put some barbecue sauce on the brisket as well.


